


The making of Peak Oil #4: my step-by-step process
This is the fourth in a seven-part series covering various aspects of the Peak Oil comic’s creation process.
I hope you agree that the writing and graphics of Peak Oil are a step ahead of the other comics that I’ve released until this point.
This blog post will document the journey from writing my scripts, to nailing the finished artwork.
After I’ve described the process, I will show you interactive slideshows displaying the ‘evolution’ of certain pages from rough sketches to final artwork.
Step 1: choice of topics
Everything that I draw comes from my own personal interests. I only draw about topics that are personally important to me.
I only draw comics about topics that I can support with factual evidence. Indeed, I have abandoned half-completed comics when I realised that superior evidence contradicted my planned story.
Because of this rigour, I personally vouch for everything that appears in my comics, to the best of my knowledge.
This first step to my process is important to mention, so that you understand what motivates me to create my comics.
As you might have guessed, I am not commissioned to draw my comics by any editor or publisher. I am a total self-employed freelance.
Like Tarzan swinging from vine to vine, I trust that the reader donations from my previous comics will be sufficient to fund the future comics that I am constantly drawing.
Crazy, eh? You are the ones that keep me swinging. Use the shopping cart at the bottom of this essay to provide my next ‘jungle vine’ to swing to.
Step 2: research
Pen and paper are my tools for research. Whenever I read a non-fiction book, I take notes in a notepad. I also keep a commonplace diary using index cards, using a method very similar to Ryan Holiday’s approach [1] [2].
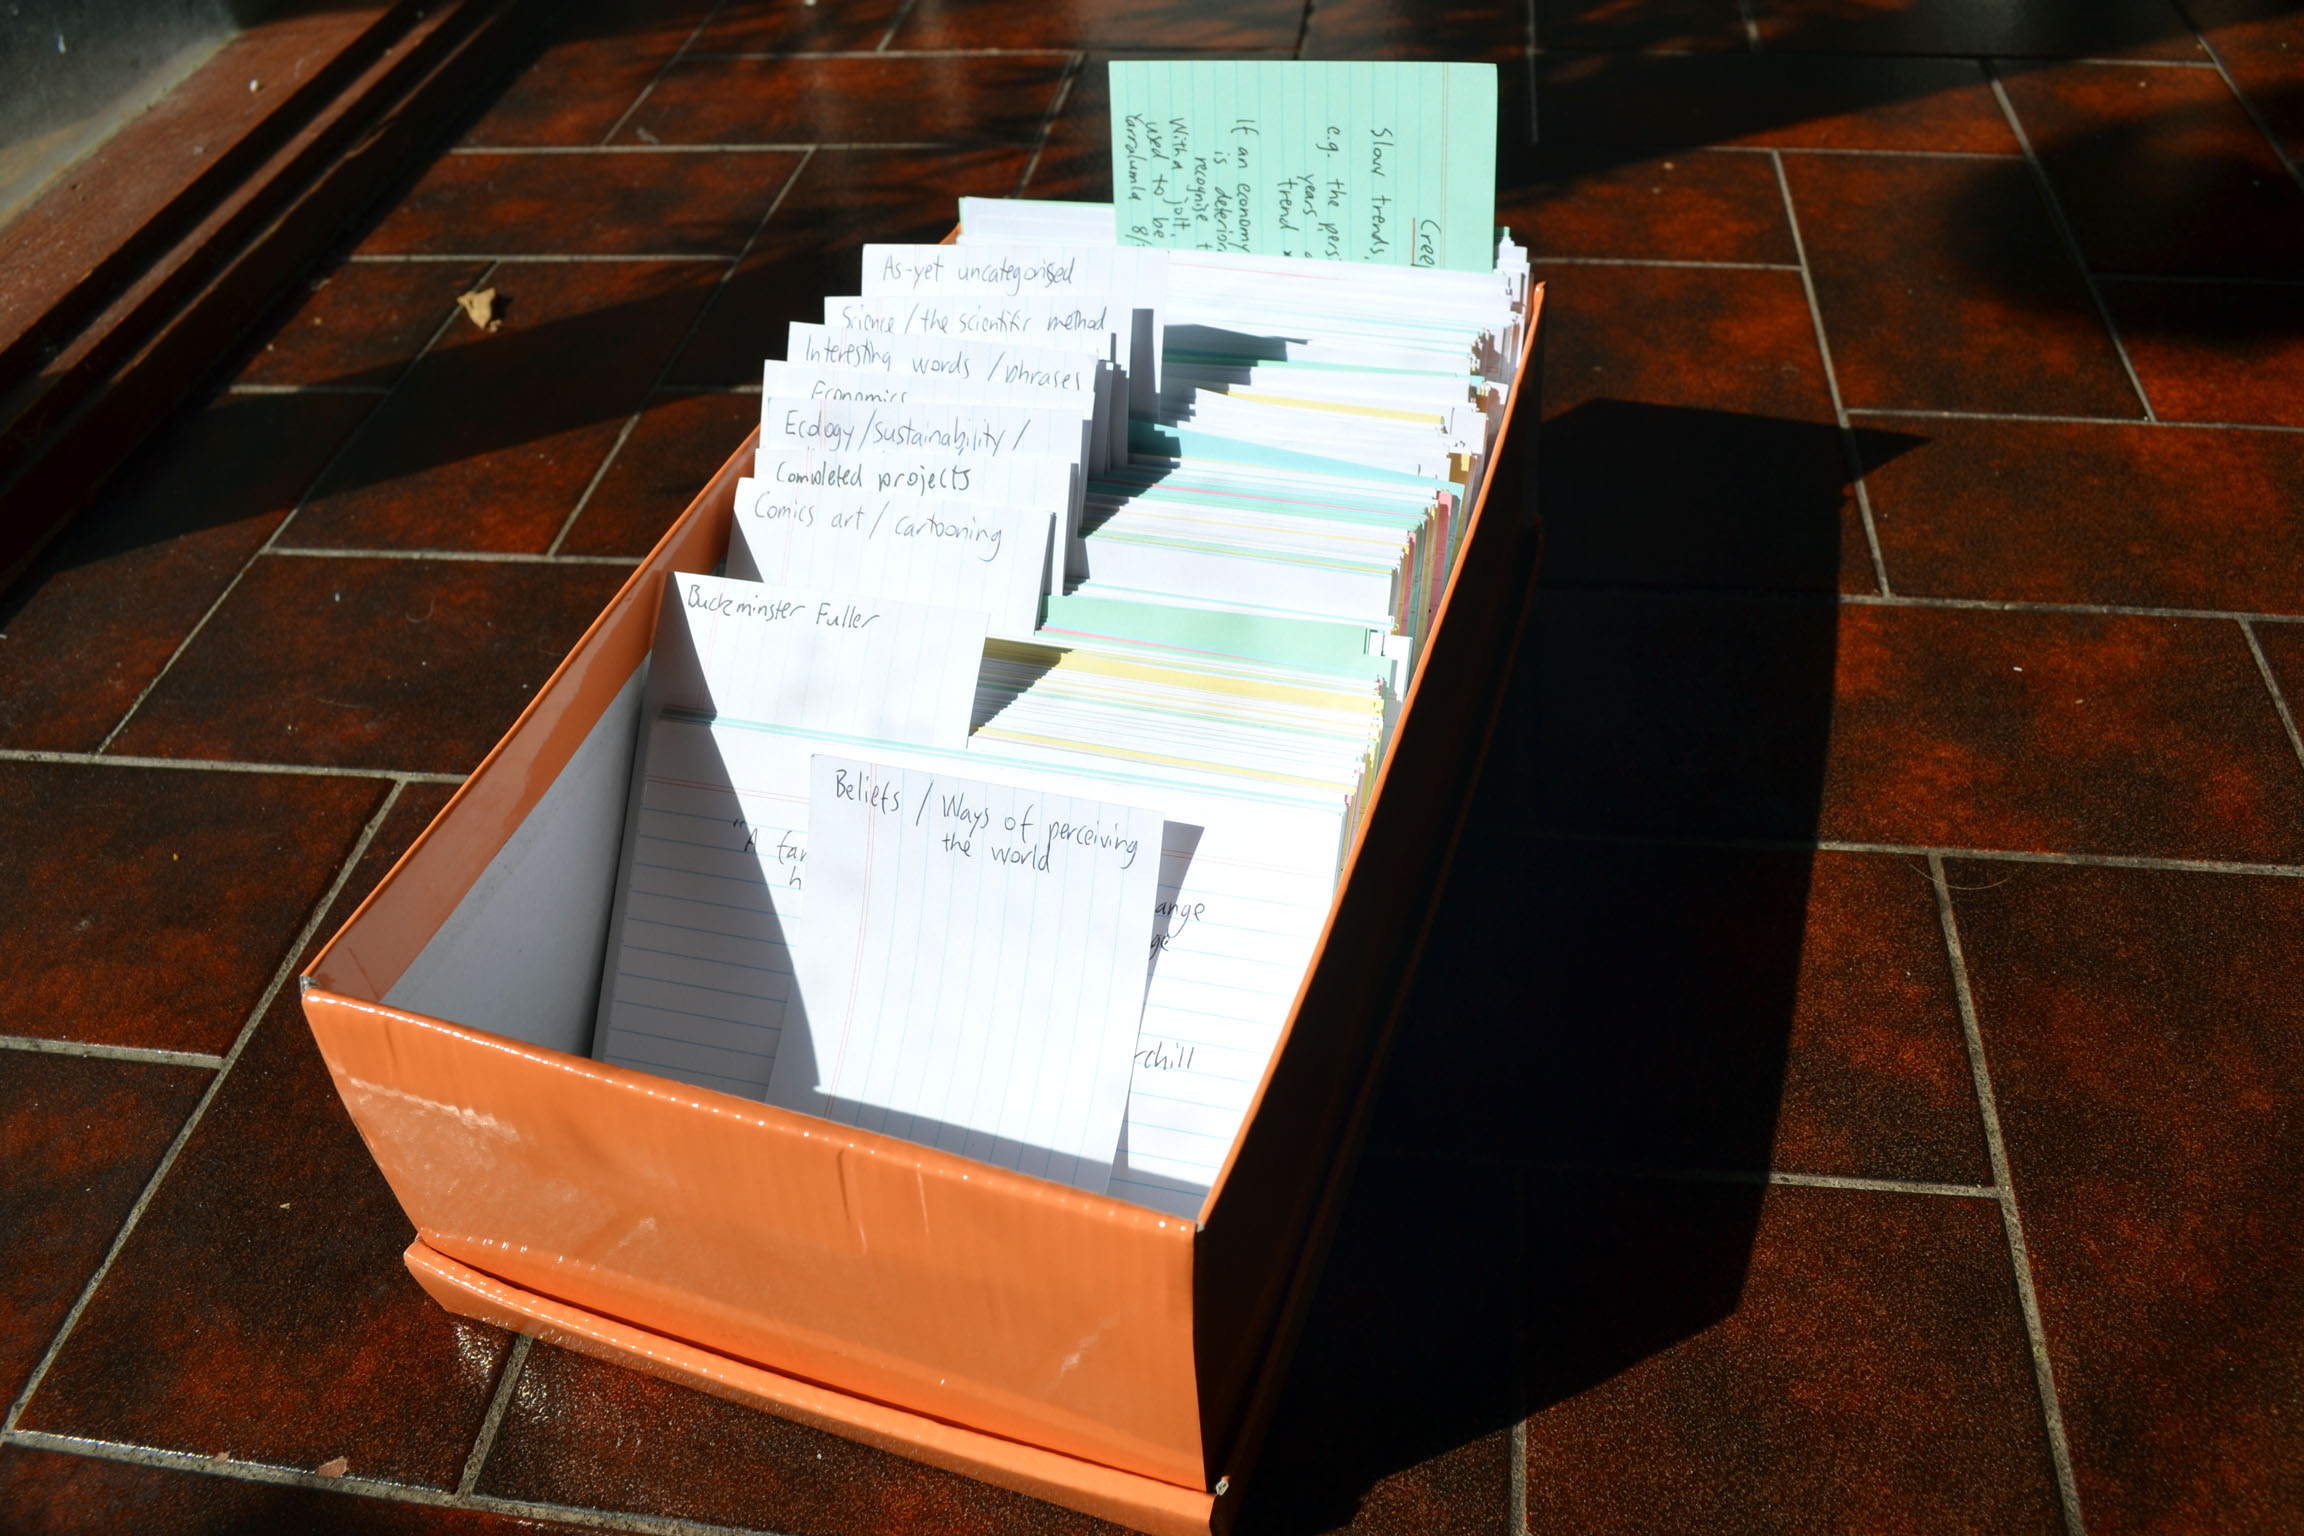
Above: my commonplace diary, housed in an orange shoebox. Since beginning this system in January 2014, I have created a colour-coded, subject-categorised collection of 1000 index cards with various facts, quotations, ideas and notes-to-self.
I find the act of writing my own notes about the books I read greatly improves my understanding of their content. There is something about the act of writing notes in my own handwriting that helps me internalise an author’s thoughts. Though, I usually intersperse the author’s statements with my own conjecture!
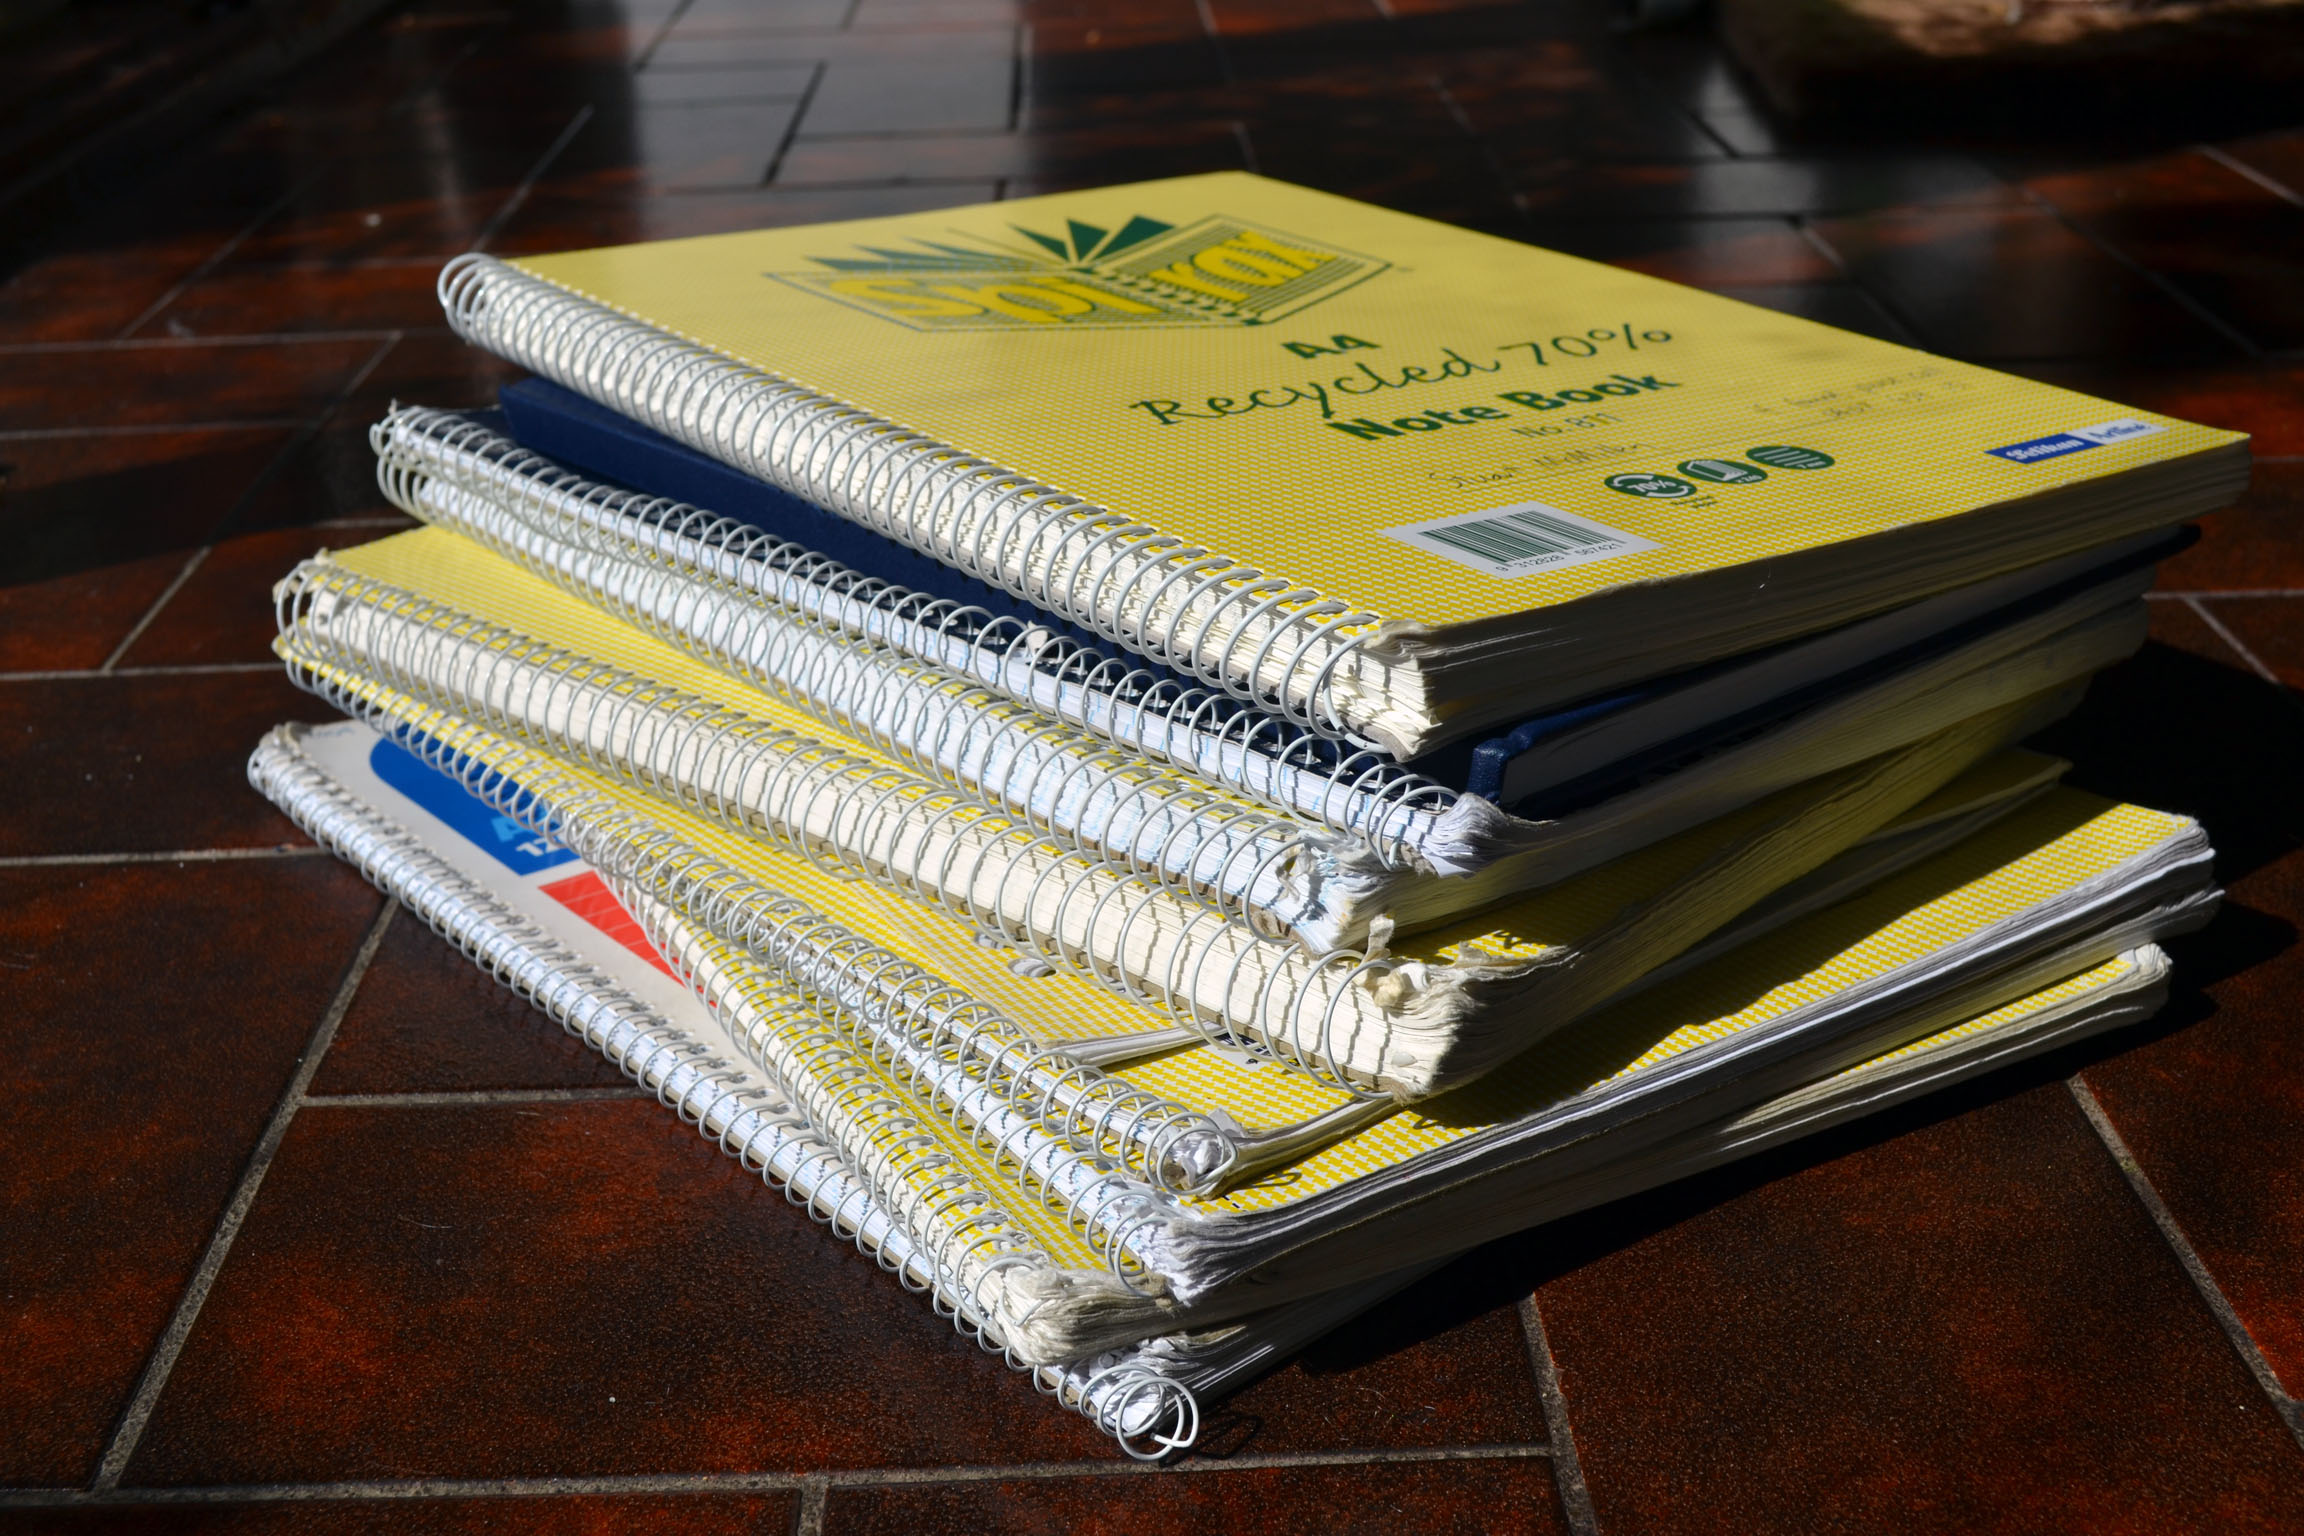
Above: my notepads from 2009 to 2015. I use these to write notes on the books I read, lectures I attend, and to jot down rough ideas for my comics and other personal projects.
Because I write notes on all the non-fiction books I read, I already had some information about Peak Oil to refer to, before deciding to draw a comic about the topic in 2013. From that point onwards, I researched the topic in a focused way.
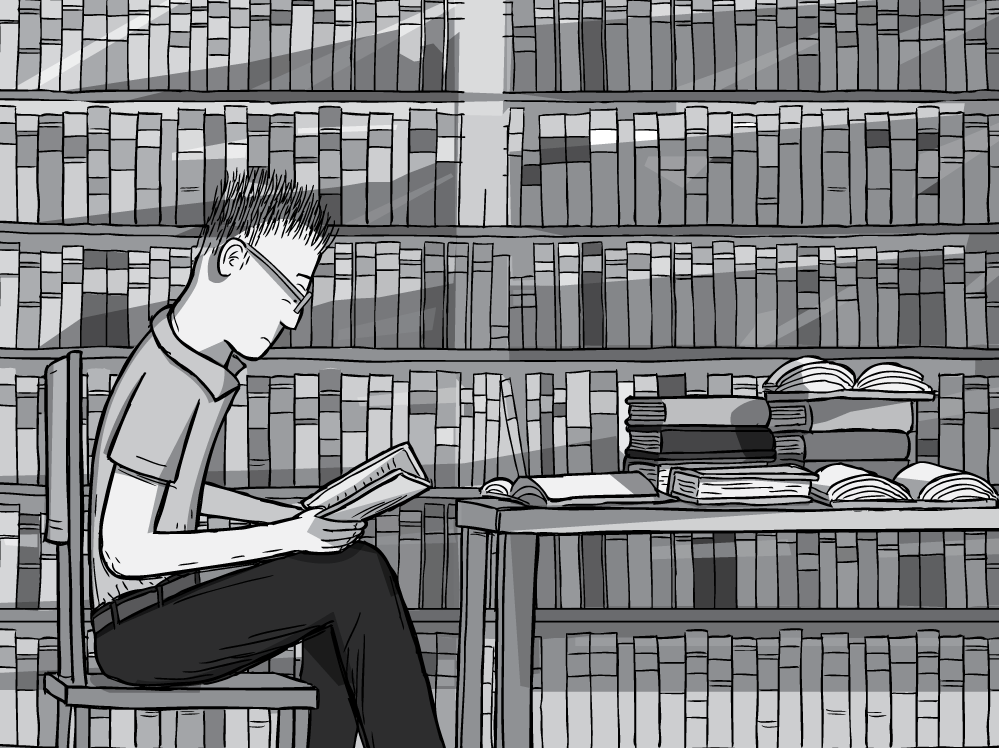
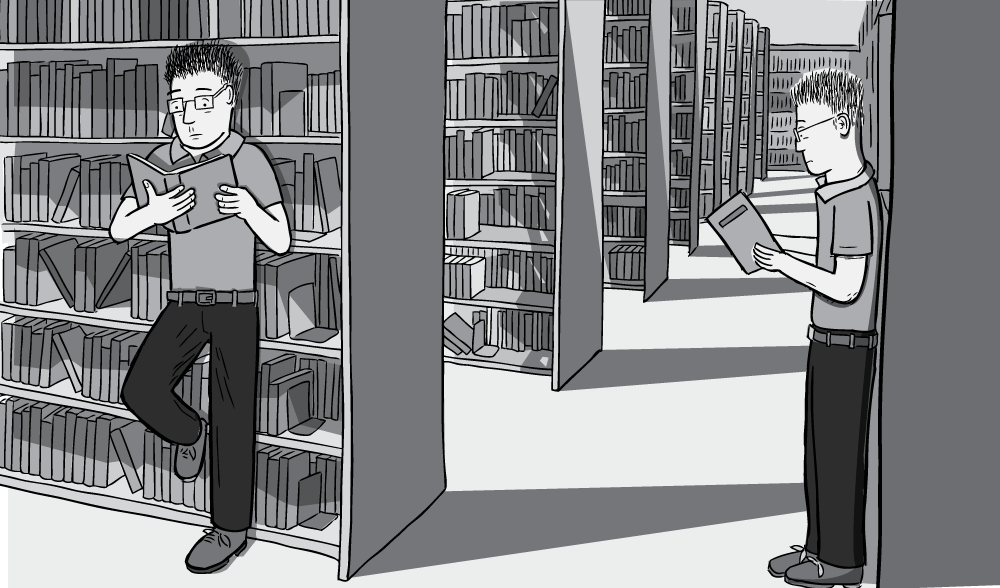
When planning Peak Oil, I basically read everything that I could get my hands on from the ACT Library, the National Library of Australia, and Australian National University’s libraries.
I divided my research time between home and libraries. I did a number of full day, 8-hour stints at the NLA and ANU Libraries, where I was purely researching material that could possibly be useful for my Thermoeconomics comics. Naturally, this led me down a number of alleyways that I did not ultimately use in my comics.
The specific sources that underpin the statements of my Peak Oil comic are listed in my reference list.
Step 3: writing
Generally the words of my comics come first, in my mind. I write my comics as sentence-by-sentence essays, with 2-3 sentences per page.
I generally start out writing into paper notepads, in a distraction-free room. There is something about writing onto paper which focuses the mind to think ahead, and choose words carefully. It is a different experience to typing into a computer, which allows you to be sloppier on first pass.
After I’m happy with the paper version, I type it into a LibreOffice Writer document, and tighten up the script.
I spend an enormous amount of time distilling my ideas into the minimum number of words. Sometimes I’ll spend hours editing, and re-editing a mere handful of sentences. Any superfluous word that I can lose is gladly cut.
I cannot listen to music during any part of the writing stage. My focus needs to be on the words.
After a while, I’ll open an Adobe Illustrator file, and copy and paste the text. I use the ‘white handwriting font inside black boxes’ appearance of my finished comics. This gives me a general idea of how the panels and artwork need to be arranged.
As I am writing the words, I usually have a general idea of what the artwork will look like. Often this is just a general sense of movement, such as “Hubbert needs to be travelling at this point of the story”, or “Hubbert needs to be stationary, in his office at this point of the story”, to match the momentum of the text.
Step 4: storyboards
After the words of the comic are locked down, I generally sketch small thumbnail versions of the overall page layout into a notepad.
These are generally very small-sized drawings, based on tiny stick figures. They would make almost no sense to anyone else seeing them.
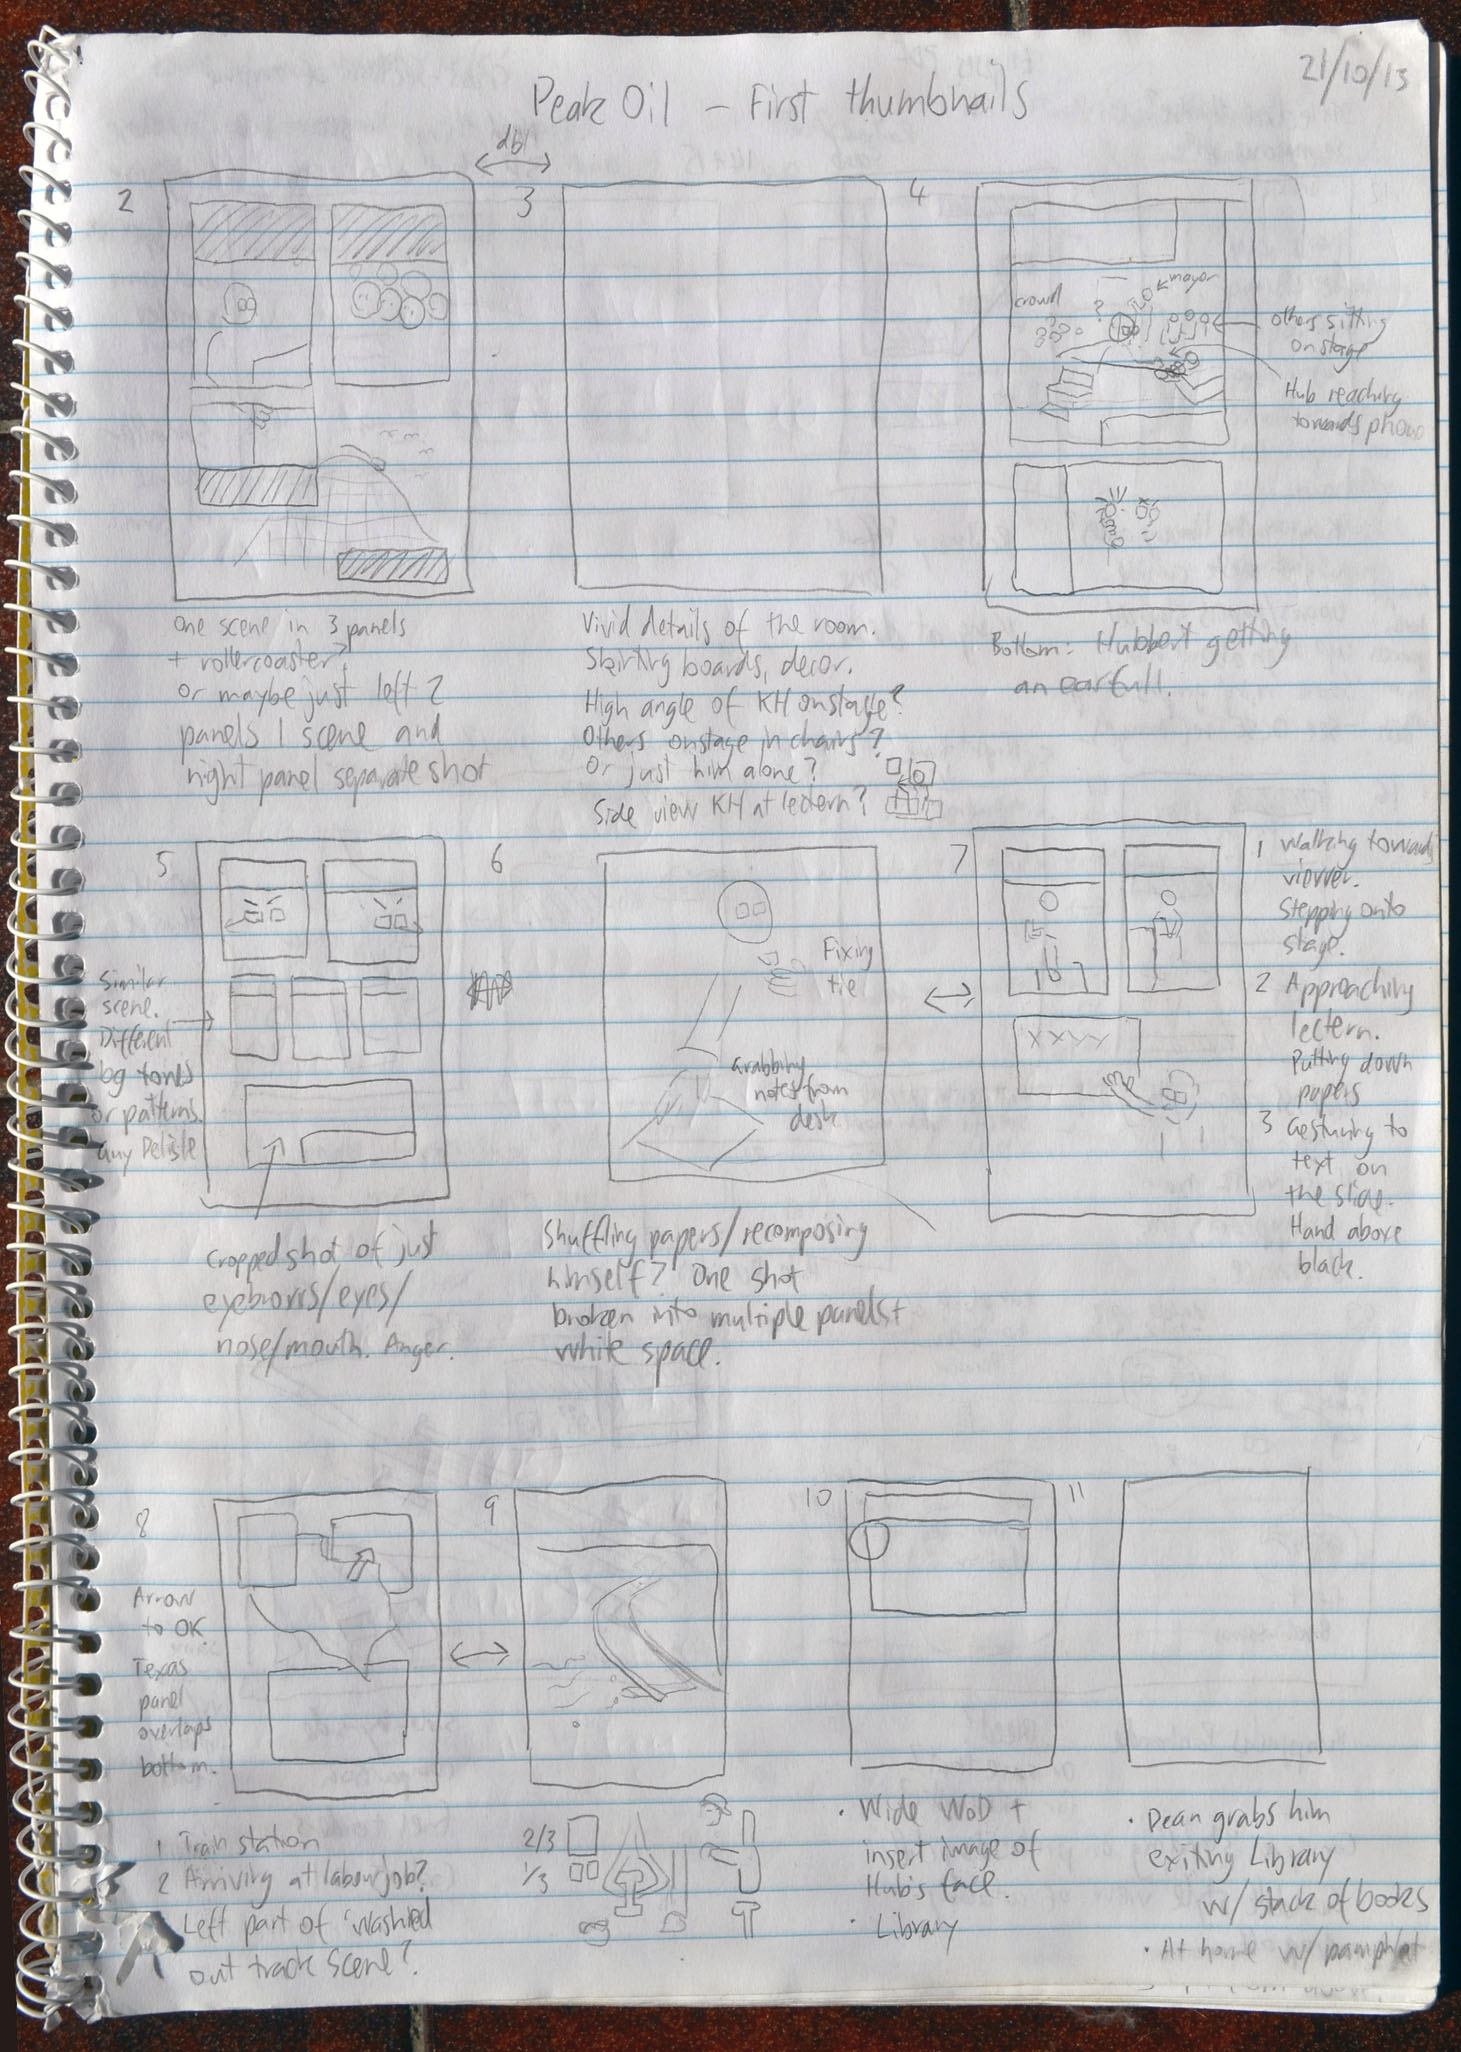
The above thumbnails show my early vision of the page 5-6-7 sequence.
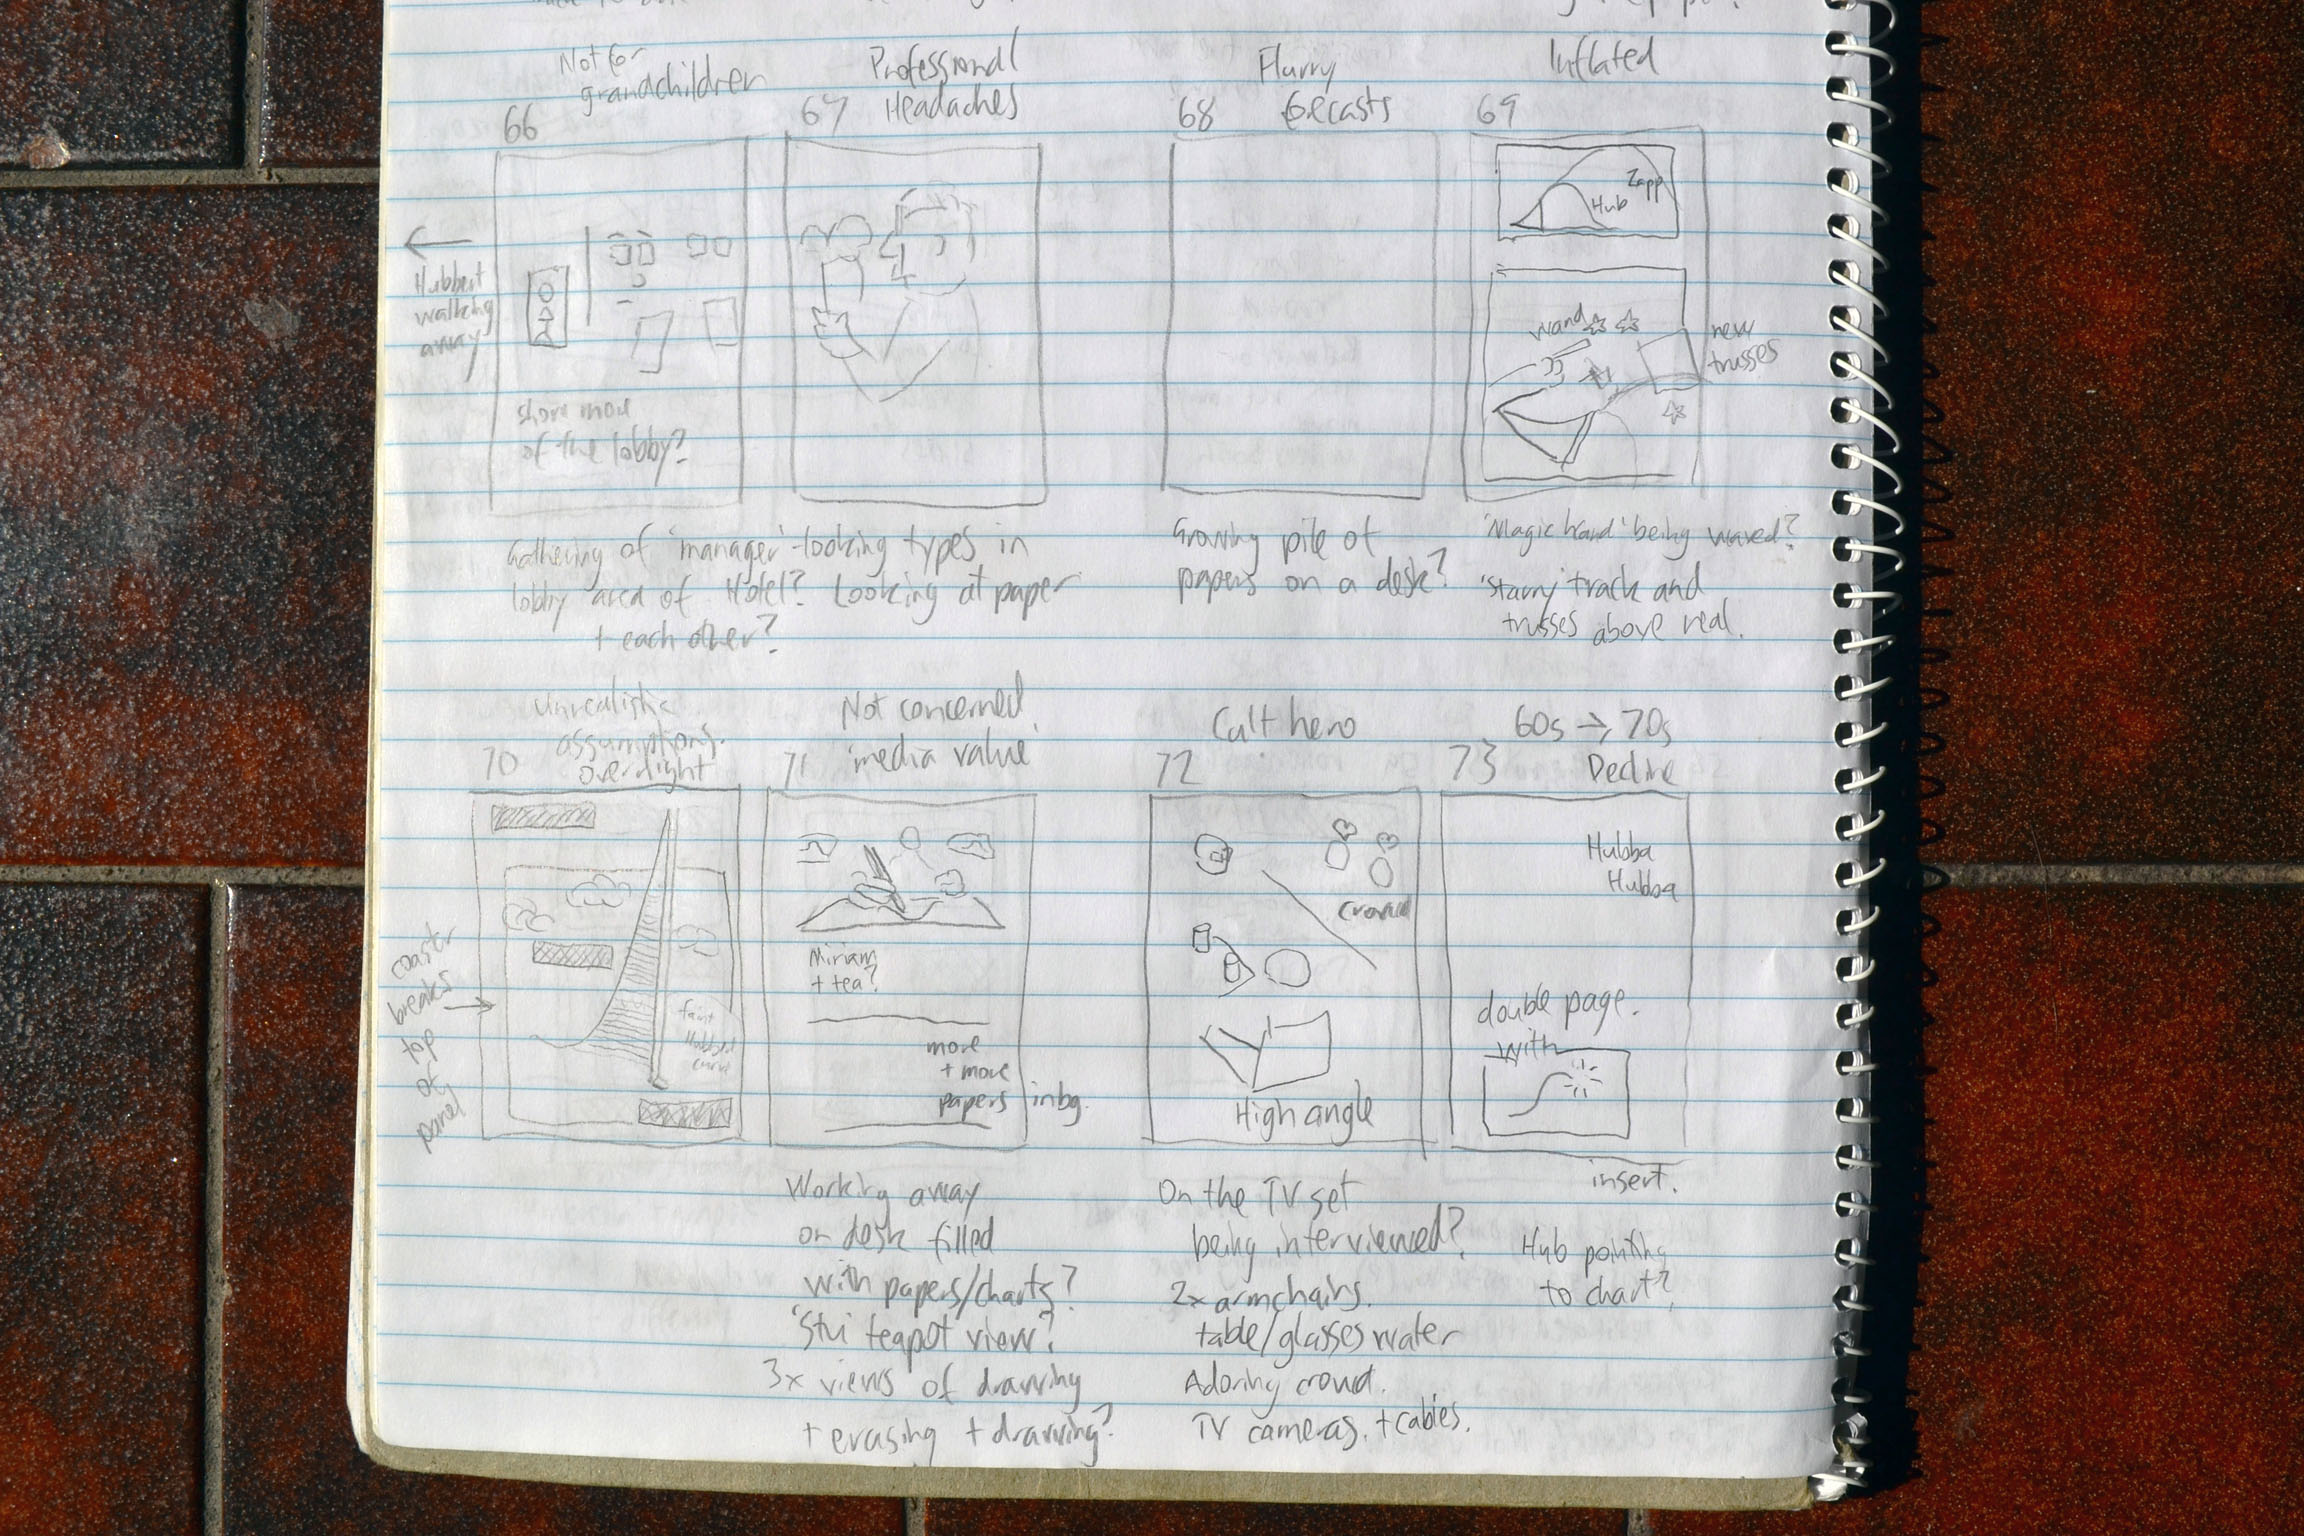
The above thumbnails show my early vision of the page 72-73-74-75 sequence.
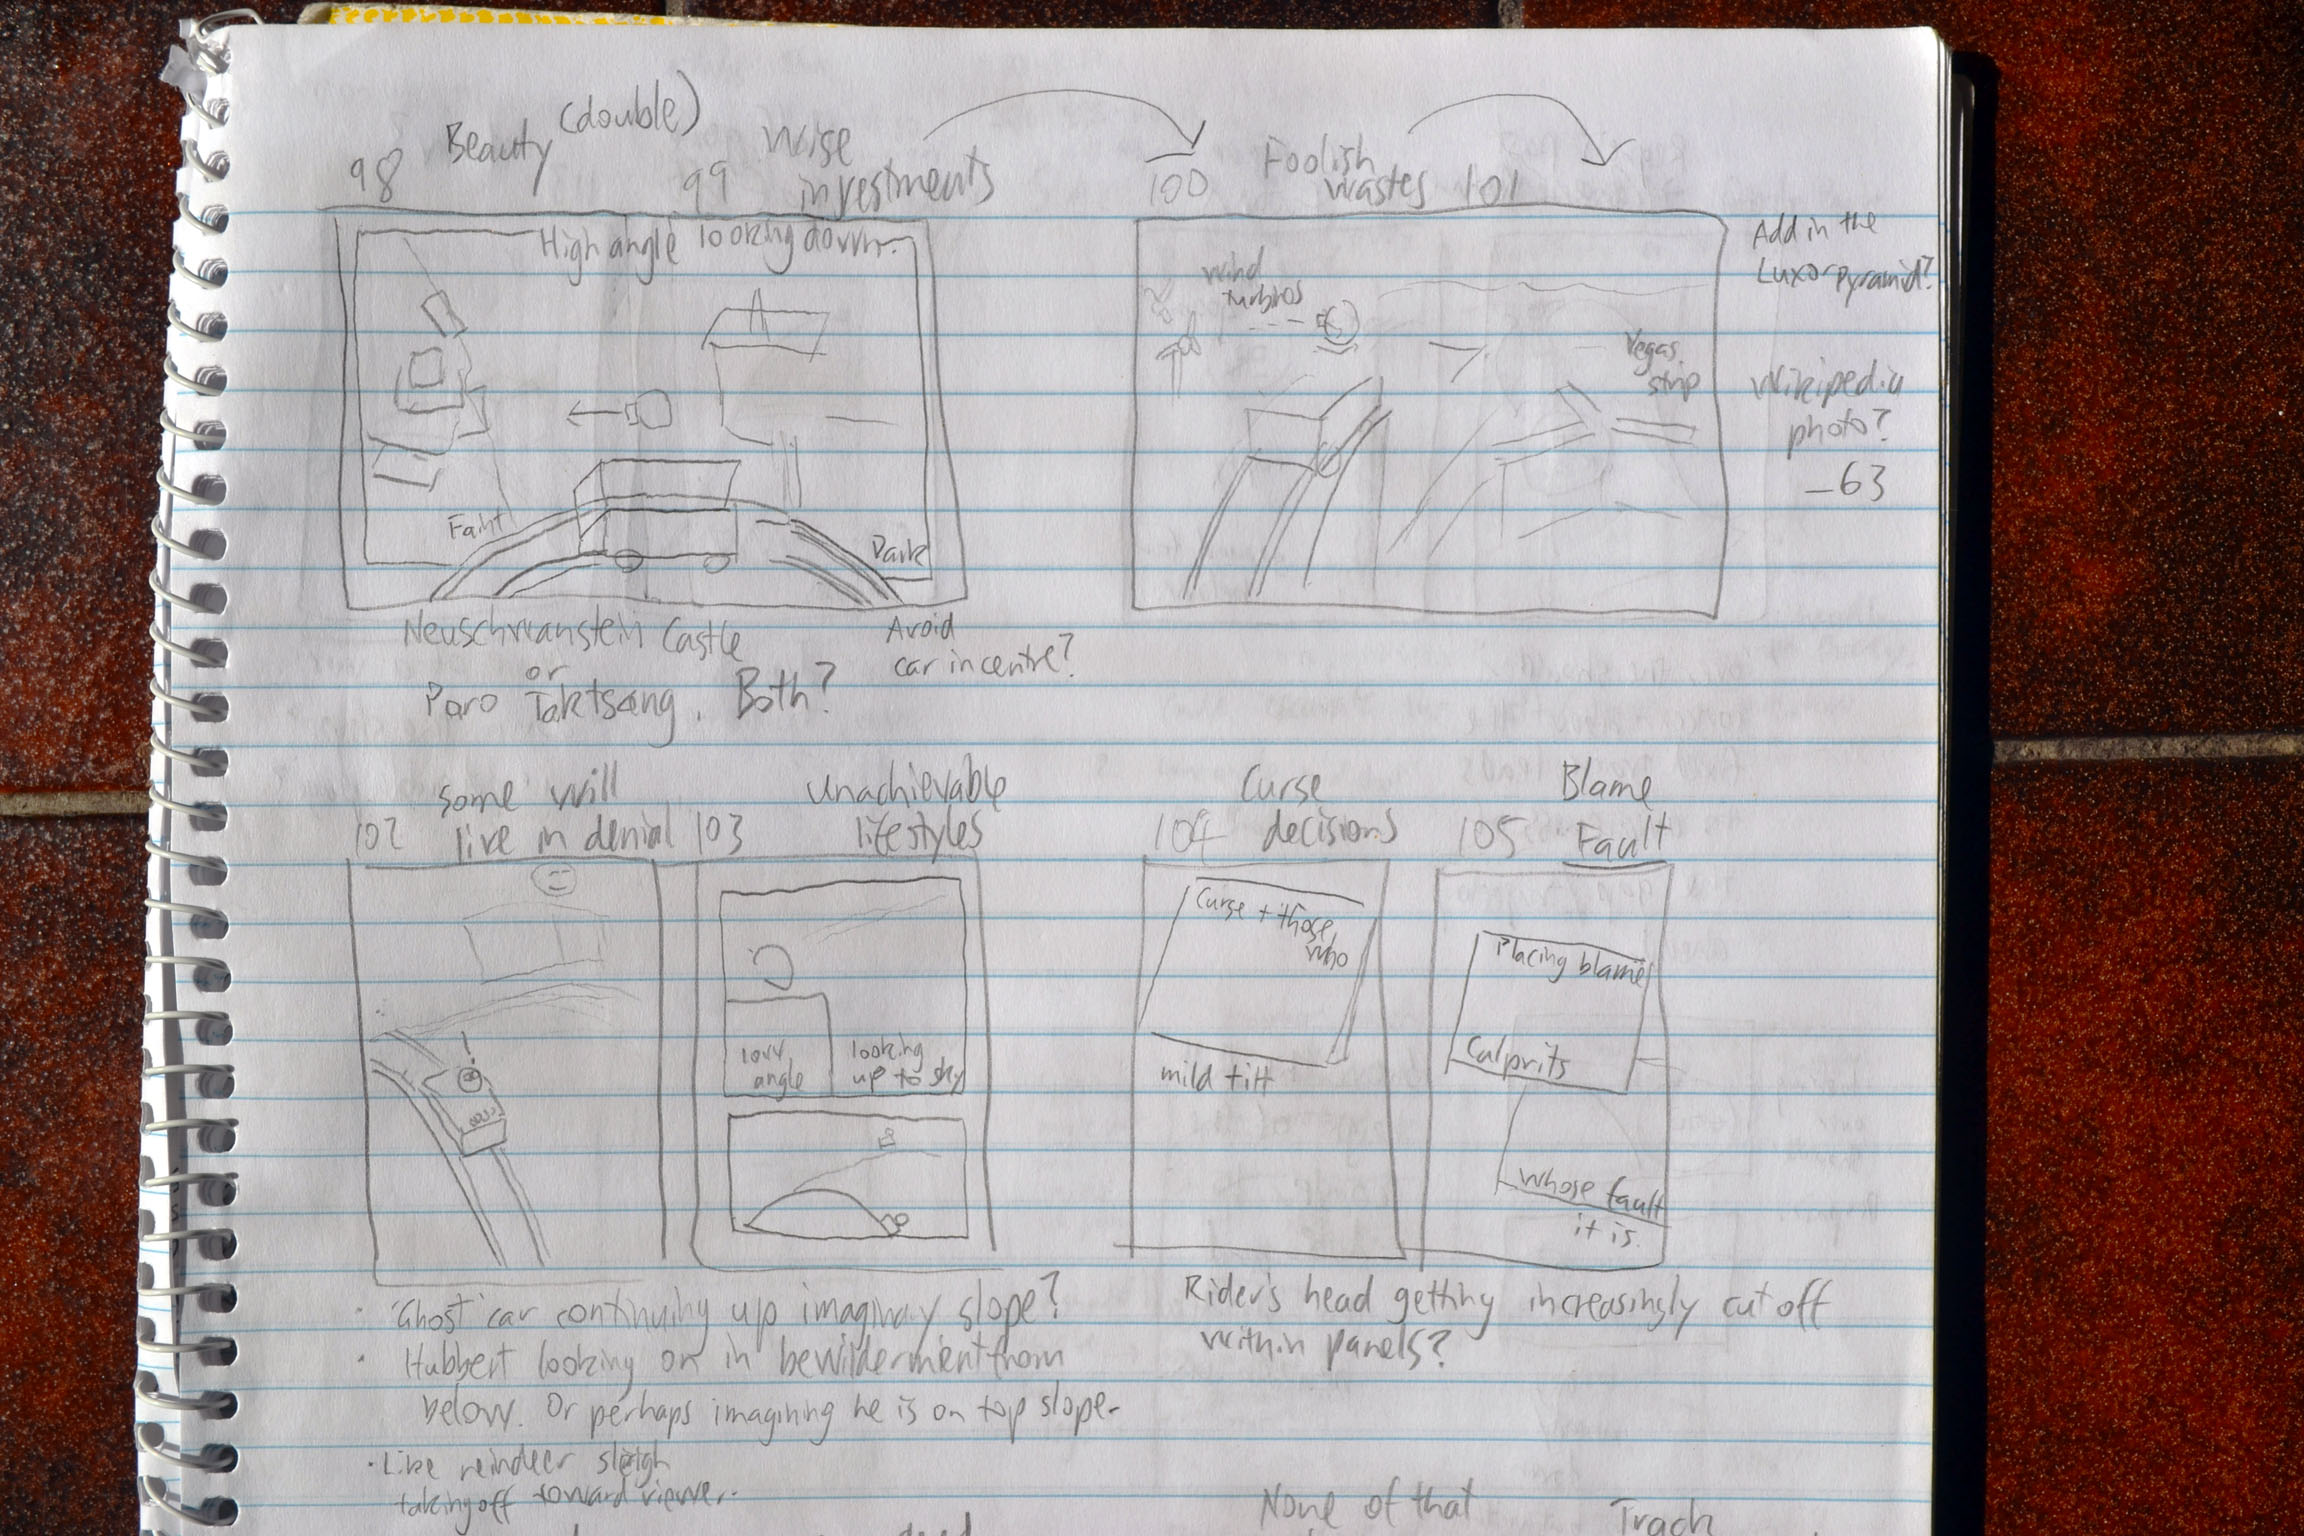
The above thumbnails show my early visions of the Paro Taktsang / Neuschwanstein Castle and Las Vegas strip pages of the comic. They were images that came to mind very early in the storyboarding process.
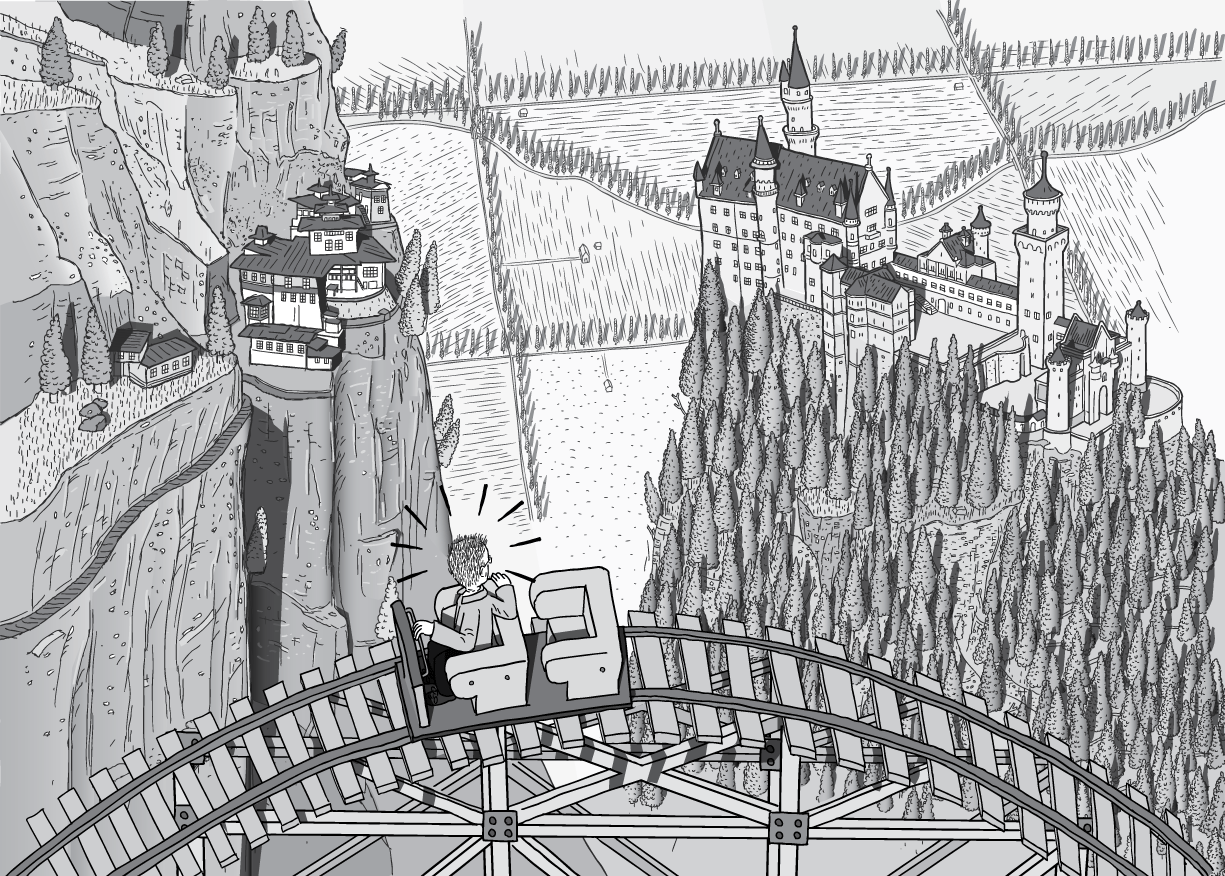
These early ideas allow me to reposition the text-boxes within the Adobe Illustrator artboards, and add the panels to my artwork on PC.
Sometimes, I will then print out the ‘blank’ Illustrator storyboards, featuring only the words and the panel shapes. I then go somewhere quiet and brainstorm ideas for artwork to fill the panels.
There are often a number of phases of revision, including changing the text/panel placement. Once I am happy, I will draw rough versions of the artwork into my PC via my graphics tablet.
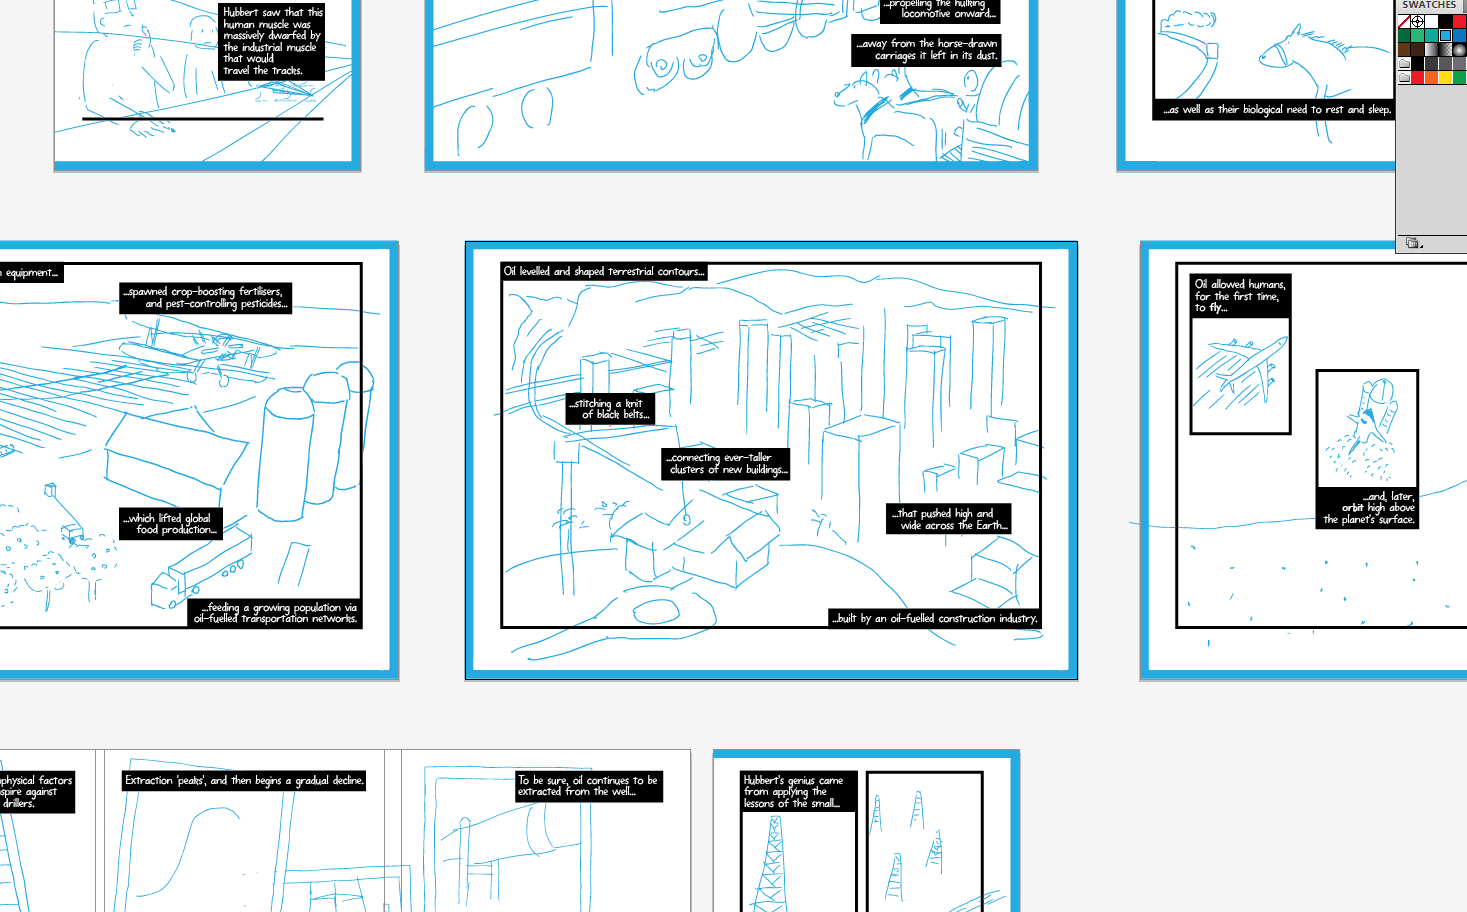
These serve as ‘placeholders’ within my comic, until I replace them with the actual artwork.
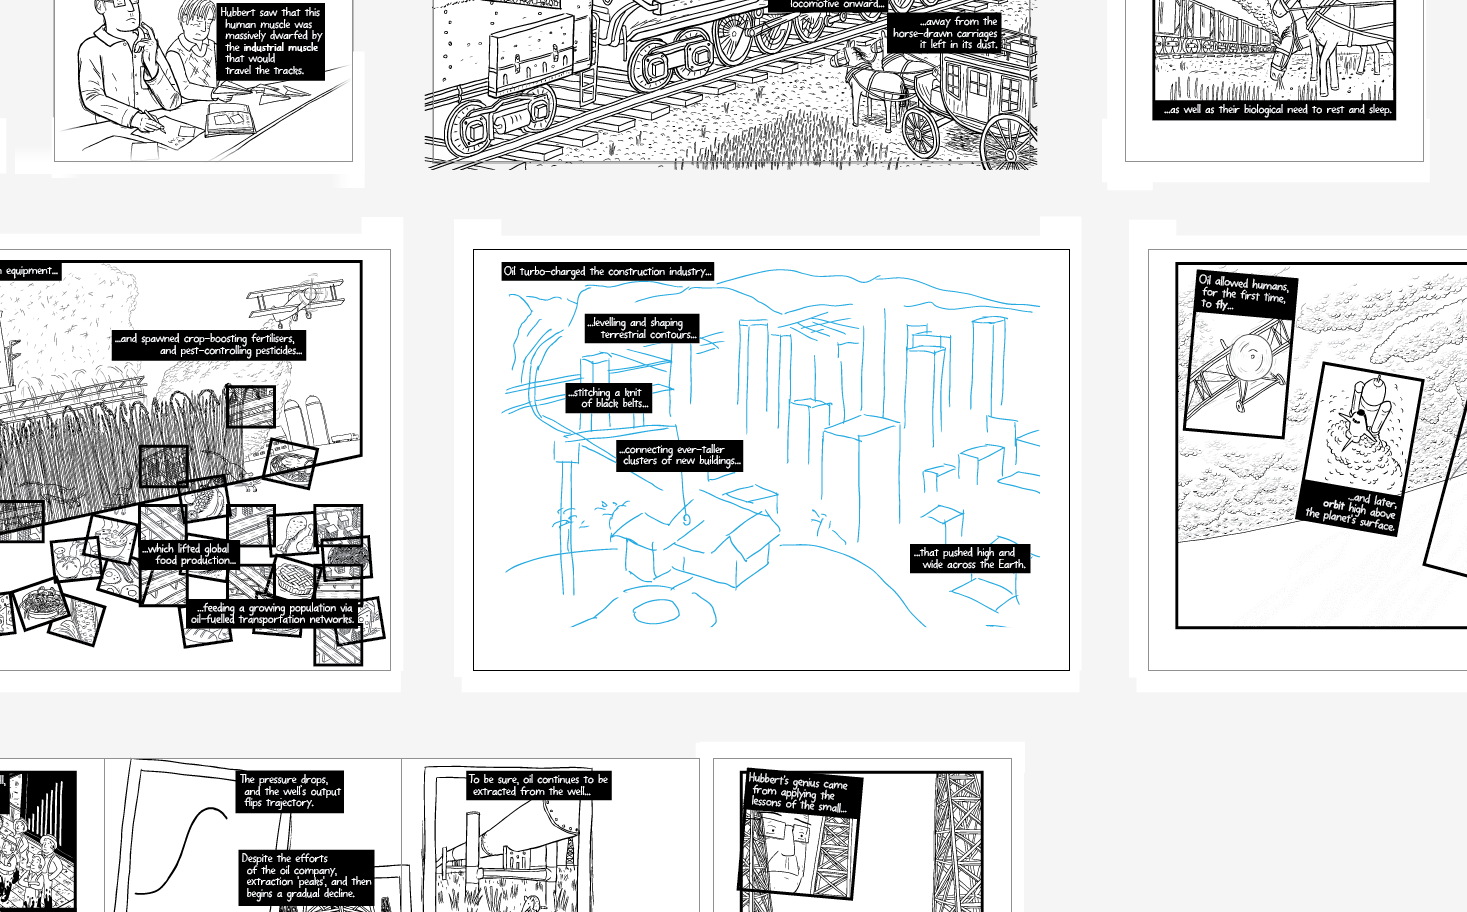
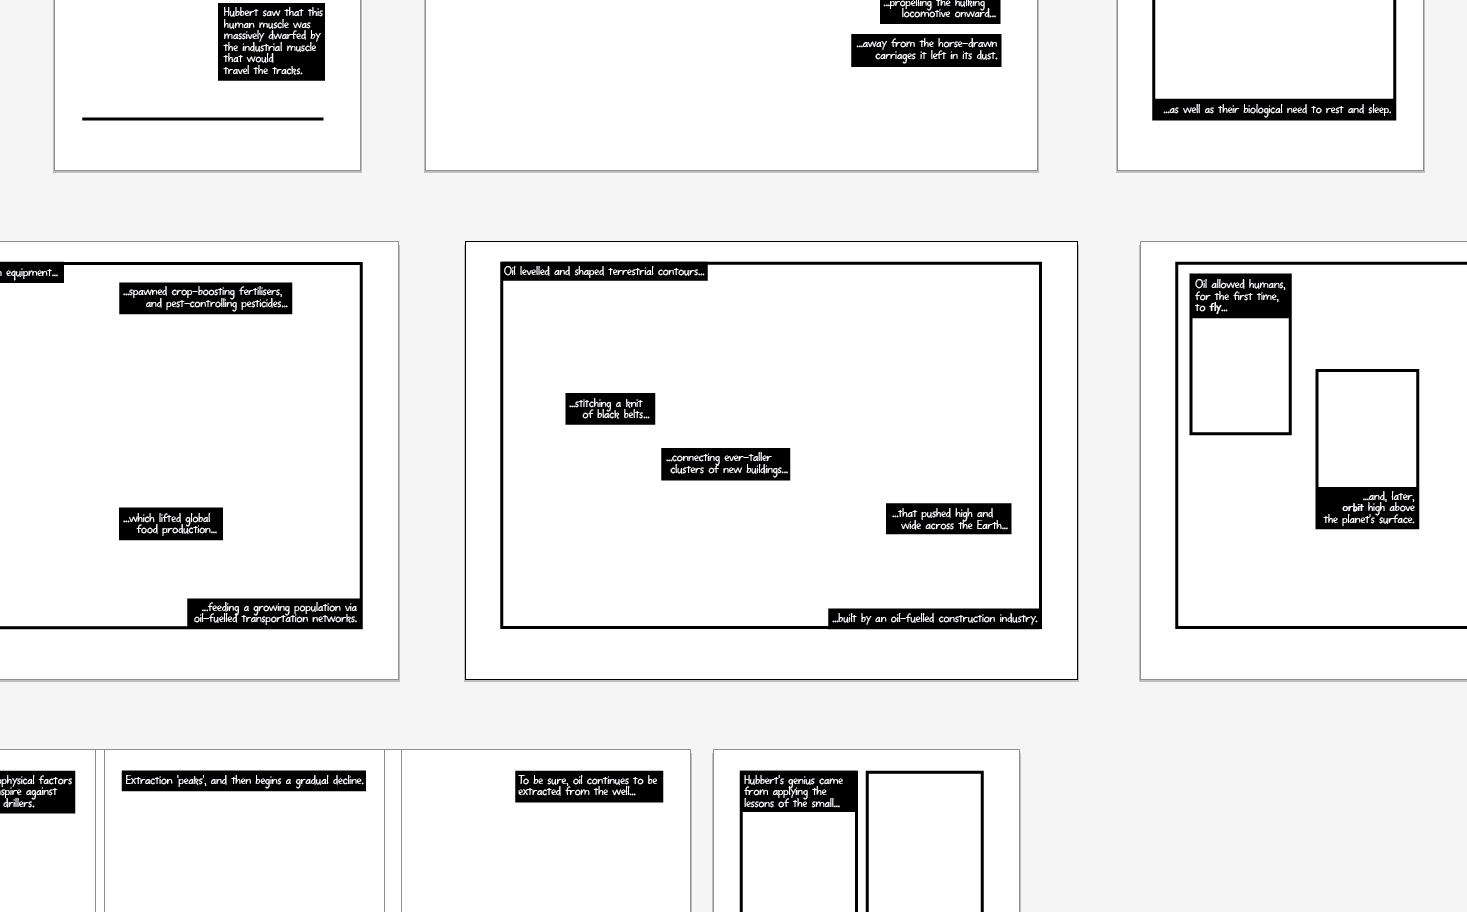
At any point in time, I can open my Adobe Illustrator file and see a bird’s eye view of my entire comic, with each of the pages in various stages of completion.
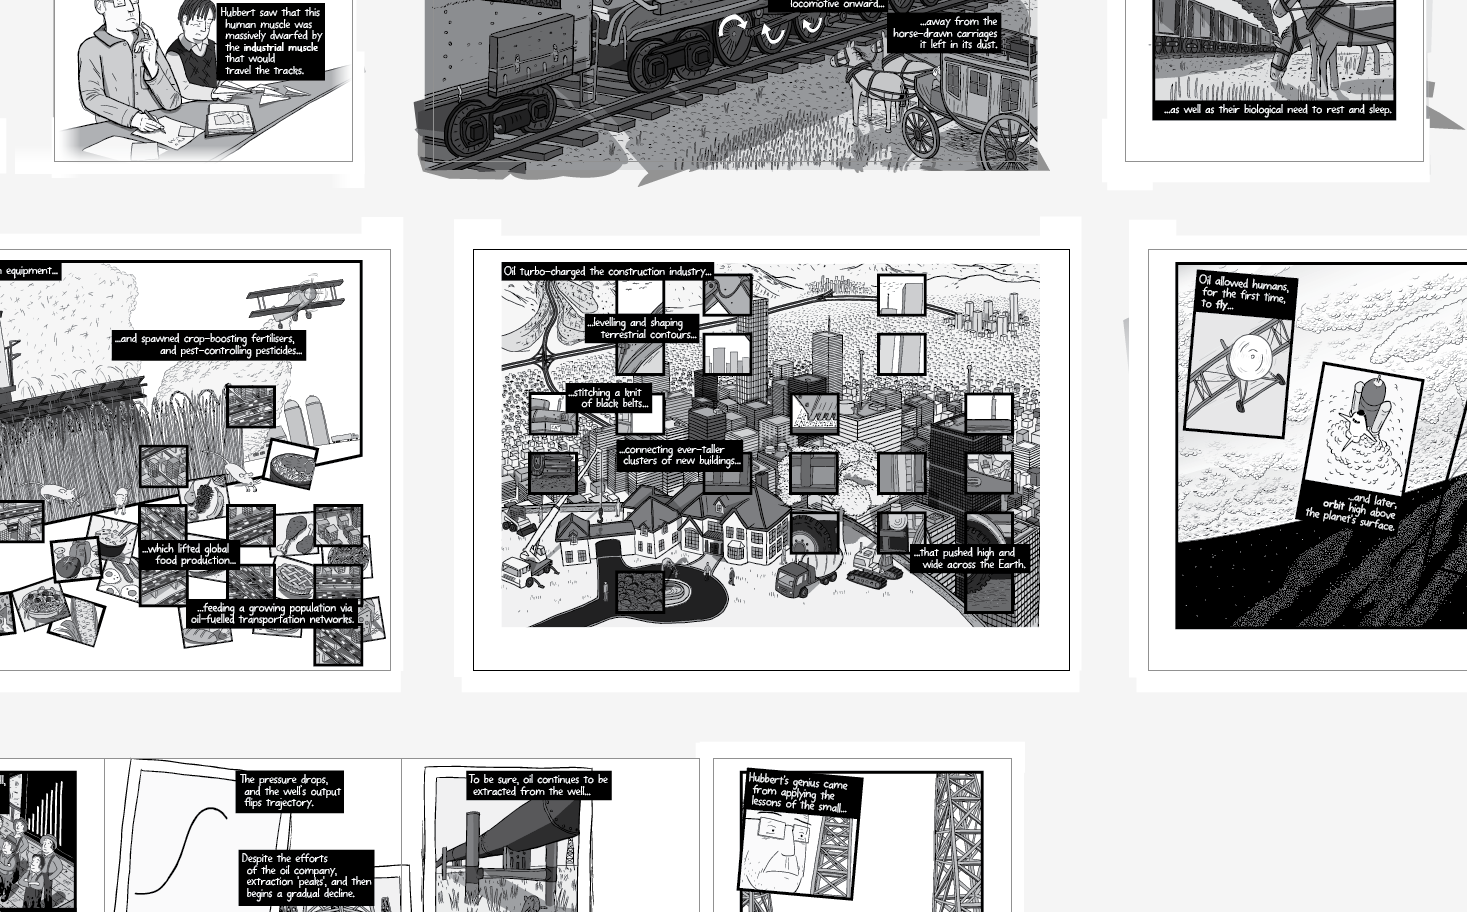
Above: medium zoom of my artboards.
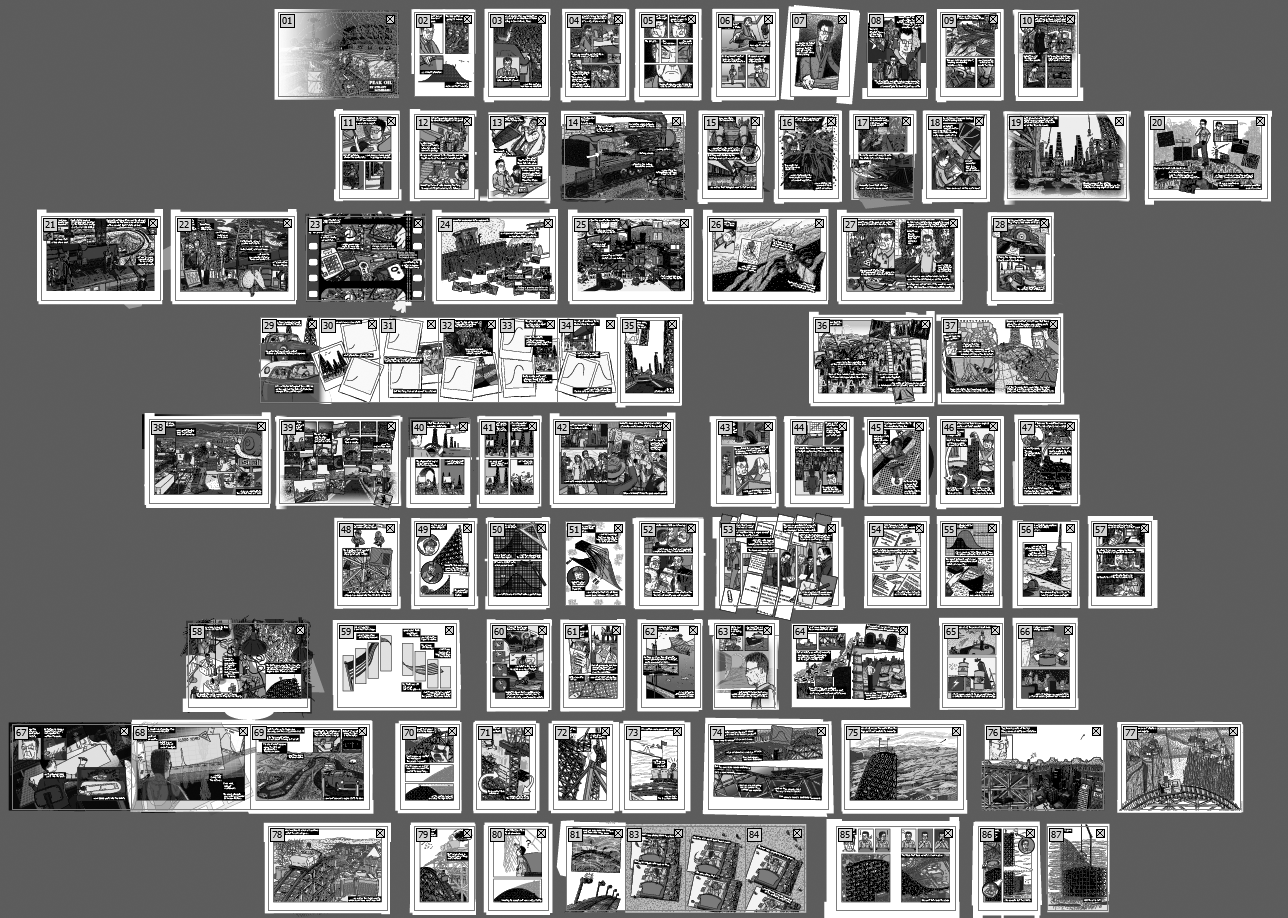
Above: wide zoom of my artboards.
Step 5: reference images
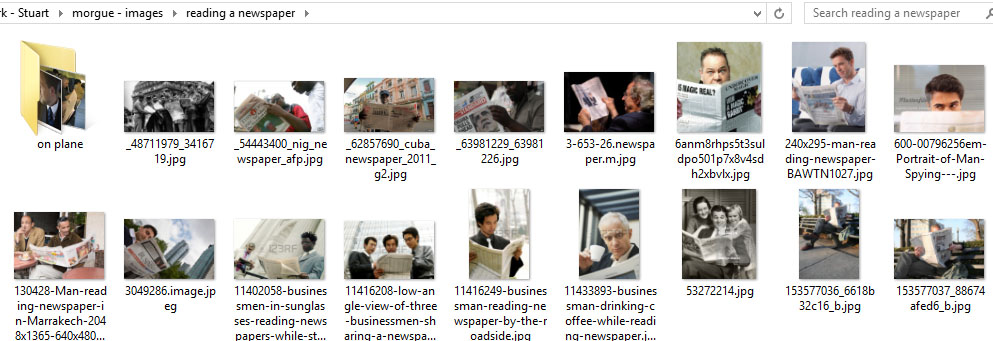
I keep a digital ‘morgue’ of interesting images that may possibly be useful for inspiration. (A ‘morgue file’ is a term used by illustrators, to describe a filing cabinet filled with categorised reference photographs that they have clipped from magazines and other sources).
My digital morgue is a category-by-category collection of JPEG images that I have either scanned or downloaded. They are generally interesting images that I would not later be able to easily find via Google Image search.
Also, I use the note-taking software Tomboy to write ideas for things to possibly draw into my artwork. An example is my “list of things that are generally found in certain places” that I have compiled over the years.
e.g. a list of things that can be found in the kitchen: “spice rack, freshly-brewed teapot, opened egg-carton, etc, etc”.

It is useful to have this ongoing list of things to draw into my artwork backgrounds. Without it, I am sometimes stumped for ideas for specific things that are generally found in certain places.
I continually add to this list, adding the things I see in my travels (e.g. noting “fire hydrant, park bench, bike racks” into a notepad, as I travel on bus trips).
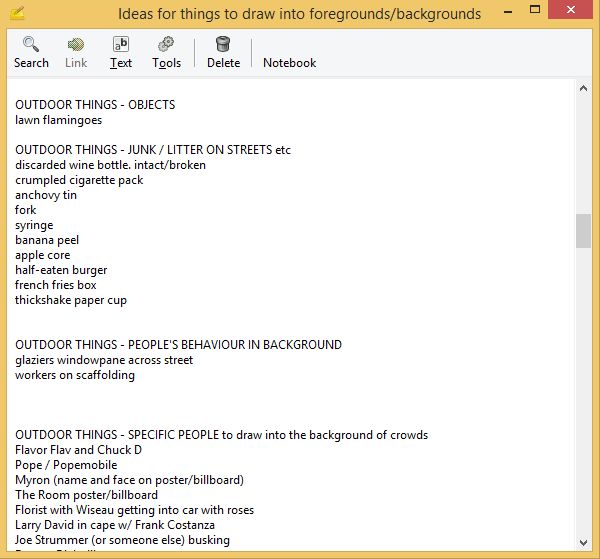
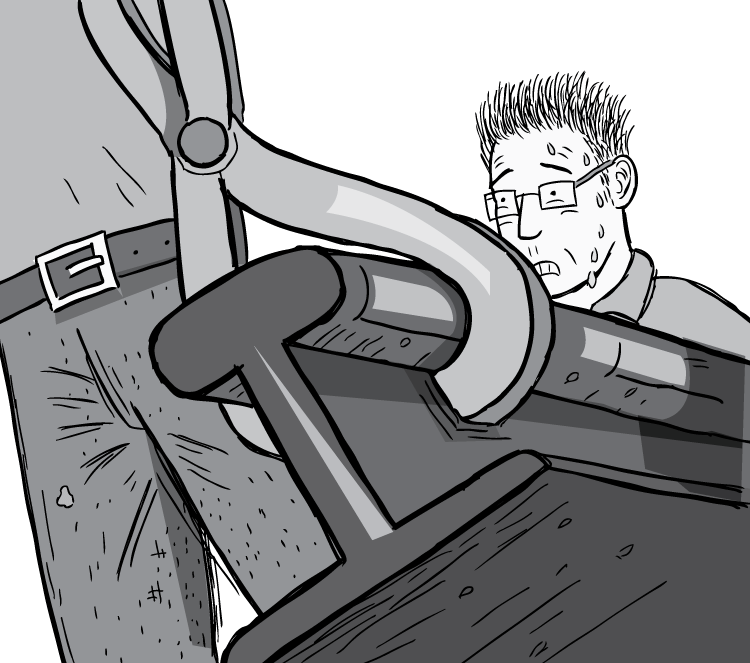
As well as listing objects that are usually found in places, I also keep a list of potential ideas for activities that could be occurring in the background of my scenes. For example: “glaziers walking across the street with a windowpane”, “bird flying away from a picnic with a stolen french fry”, “man stealing a locked bicycle with bolt-cutters”. These sorts of things add extra visual interest.
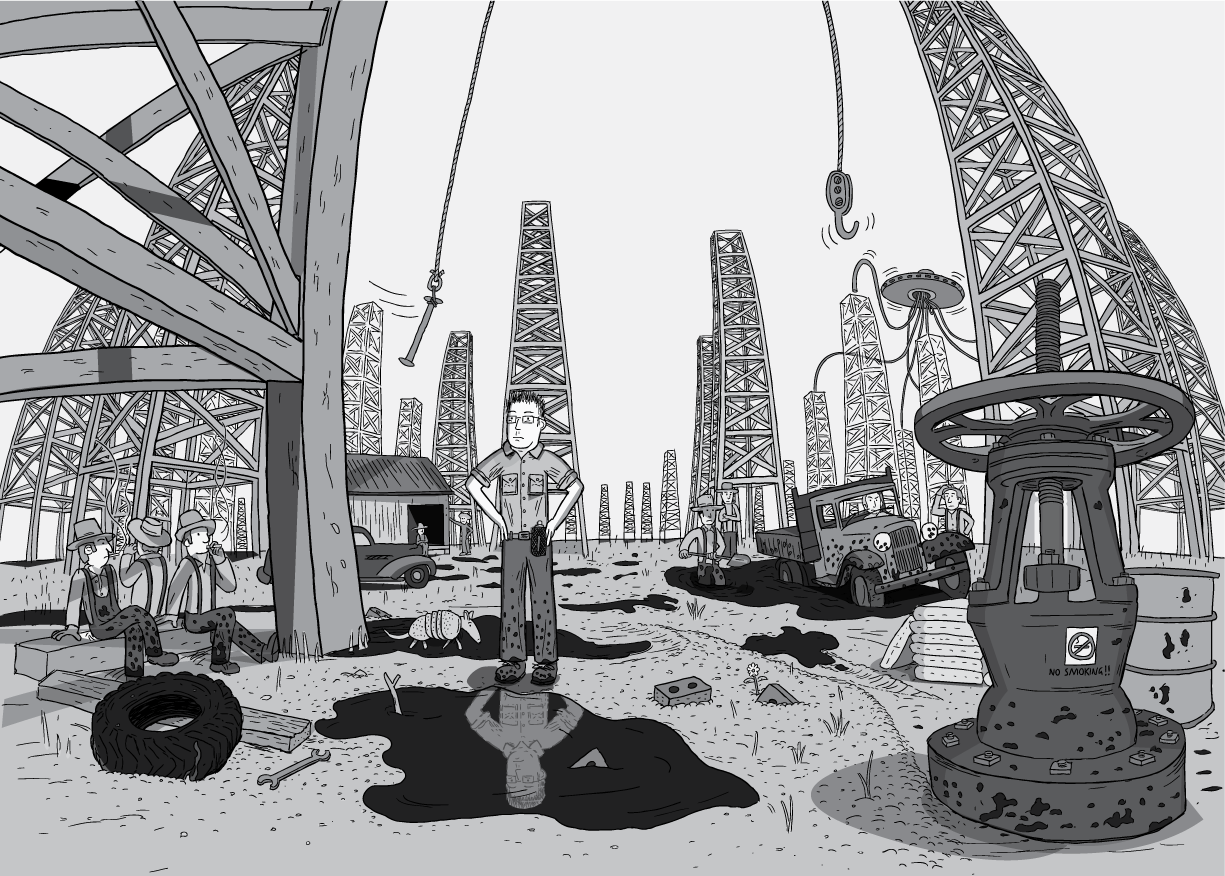
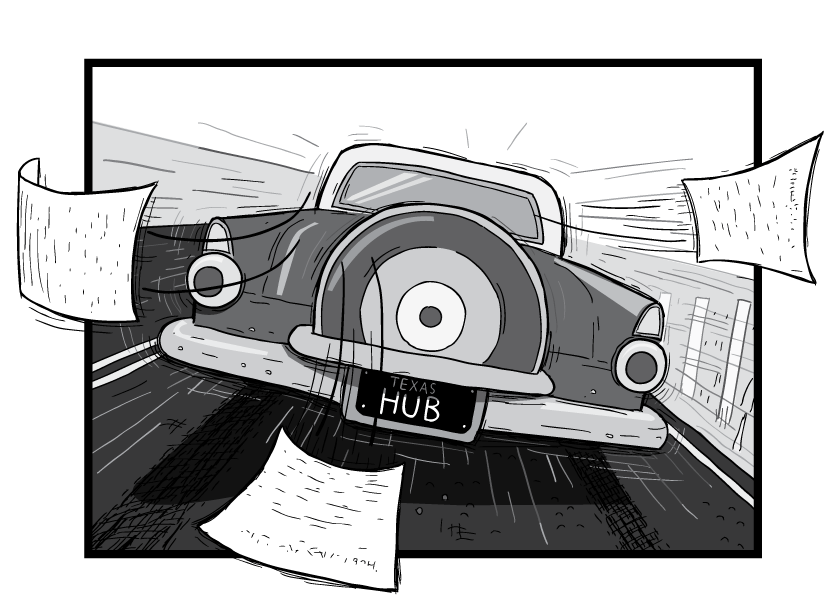
For each comic, I also do a lot of Google Images research into specific things that I need to draw into my comic. So, with Peak Oil, I collected a lot of photos from the early 1900s showing oil derricks in Texas.
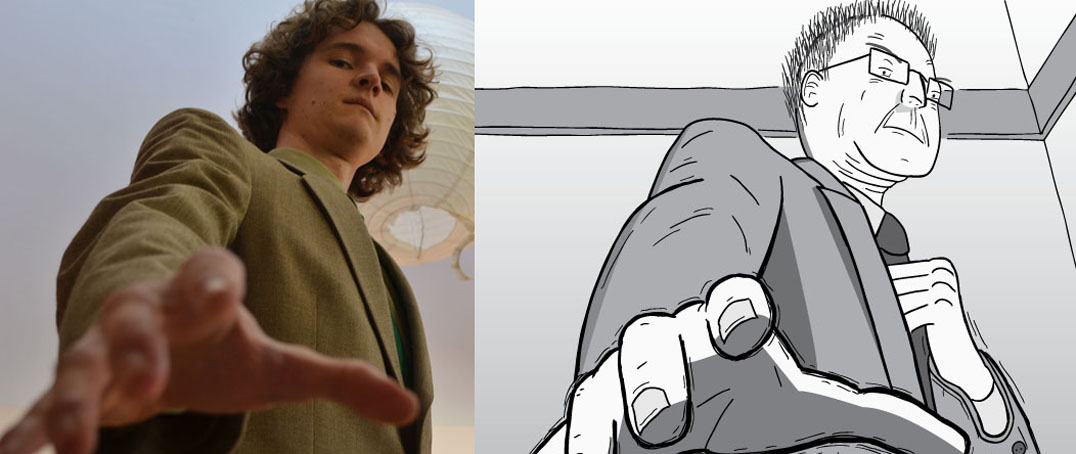
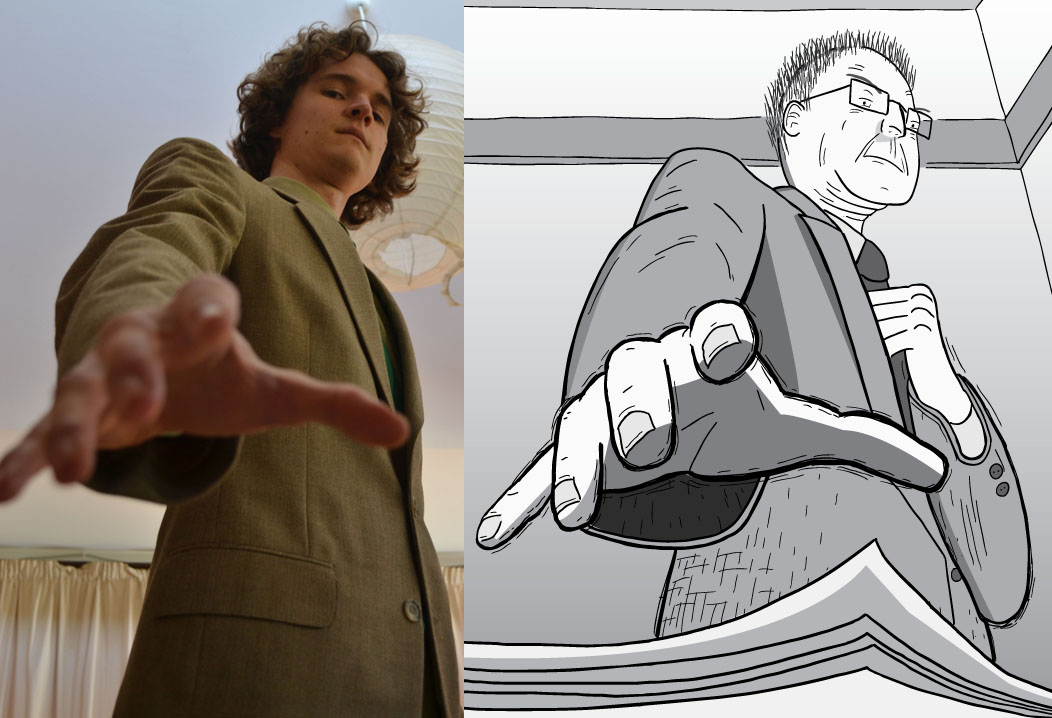
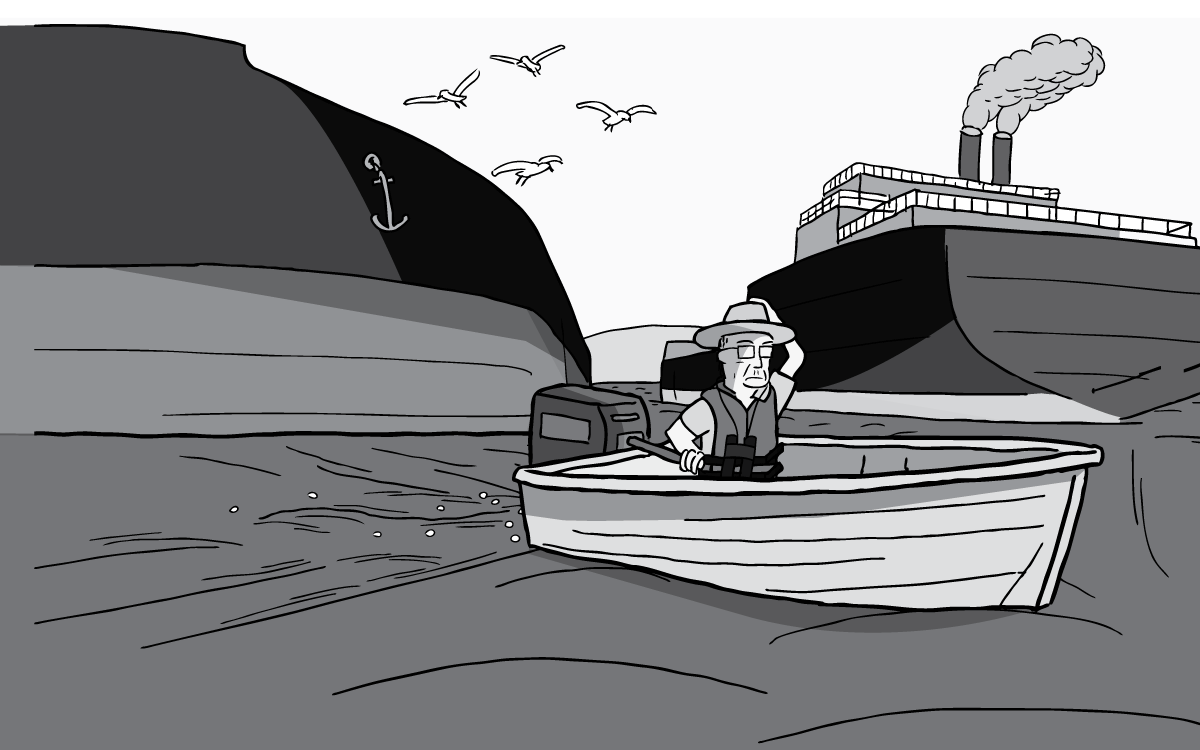
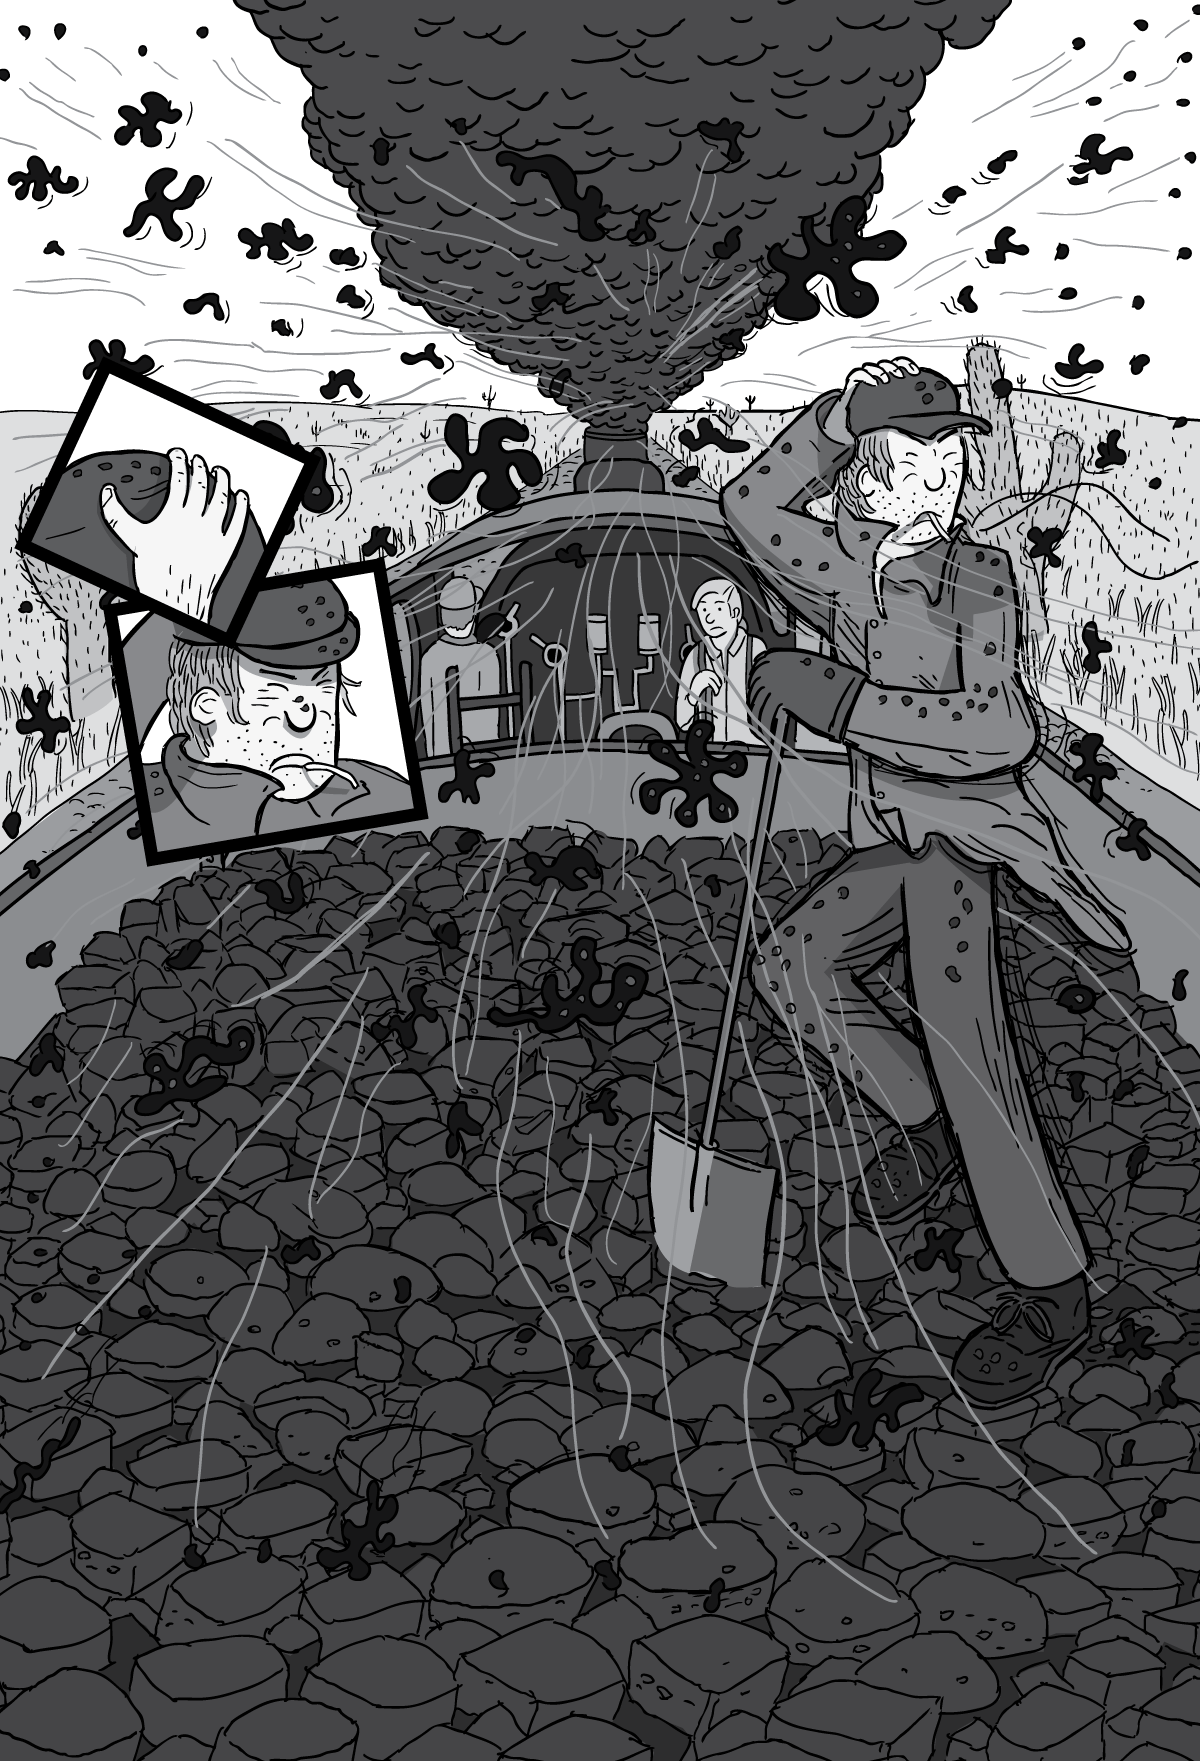
Usually my illustrations incorporate elements from several reference images that I like.
Or sometimes they are very loosely based on a single photograph.


Oh, and sometimes I pose in photographs too! For when Google Images doesn’t deliver the goods.
Step 6: drawing the artwork
I work in a home office. To feel like I am “at work” I dress in business attire, and try to maintain a fixed schedule of 90 minute work periods. These are intermixed with walks around the block, and meal breaks.
One day I will write more about my daily work habits. But this is not the time for that.
I started drawing Peak Oil with a Wacom Cintiq 12WX graphics tablet [2006-era]. (Pictured below).
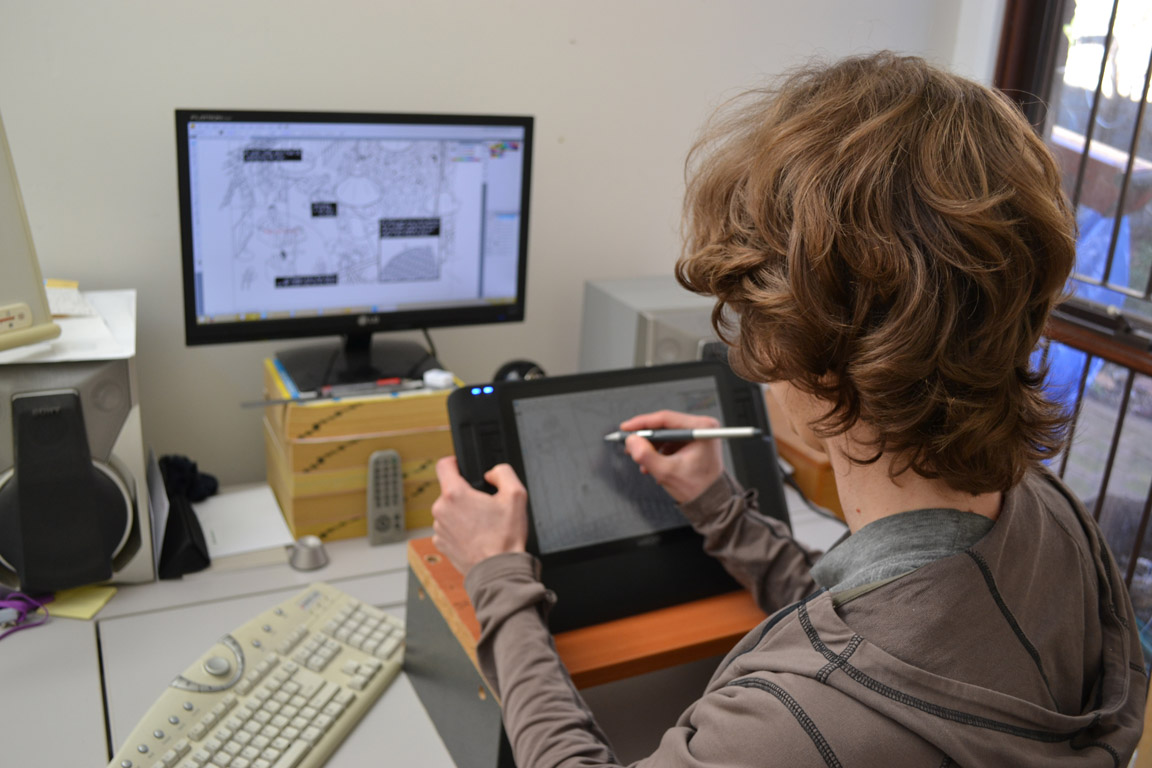
Midway through the process, the 12WX started malfunctioning, so I upgraded to a Cintiq 24HD [2011-era]. (Pictured below).

I think the “grass will always be greener on the other side” when it comes to drawing digitally, versus on paper and ink. Despite the 24HD currently being the best tablet money can buy, I am still annoyed by its parallax issues and lag-time. However, unlike drawing with pen and ink, I can easily ‘undo’ and reposition artwork as I draw it.
Each page’s artwork generally takes me about 8 hours to draw. That is an averaged figure across the whole comic, and includes the times when I have drawn two versions of the one page.
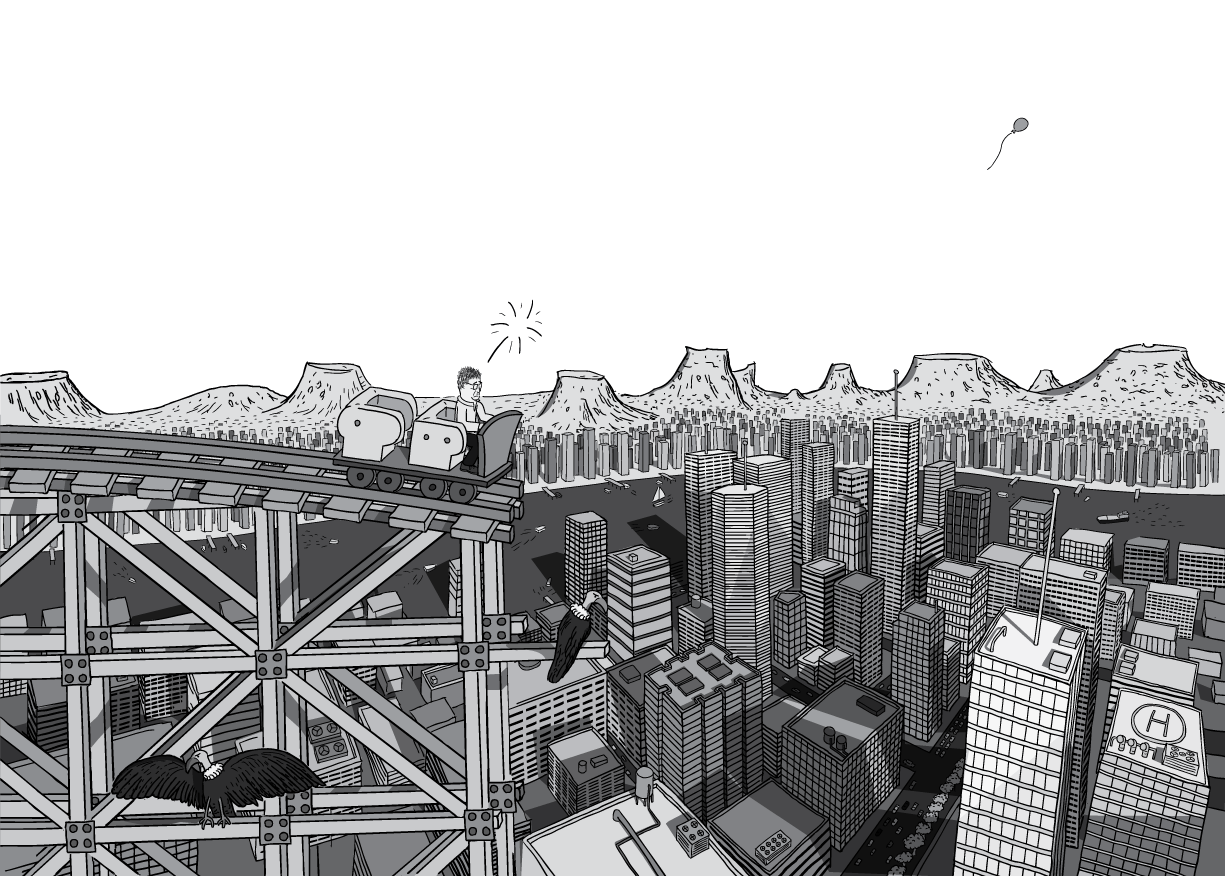
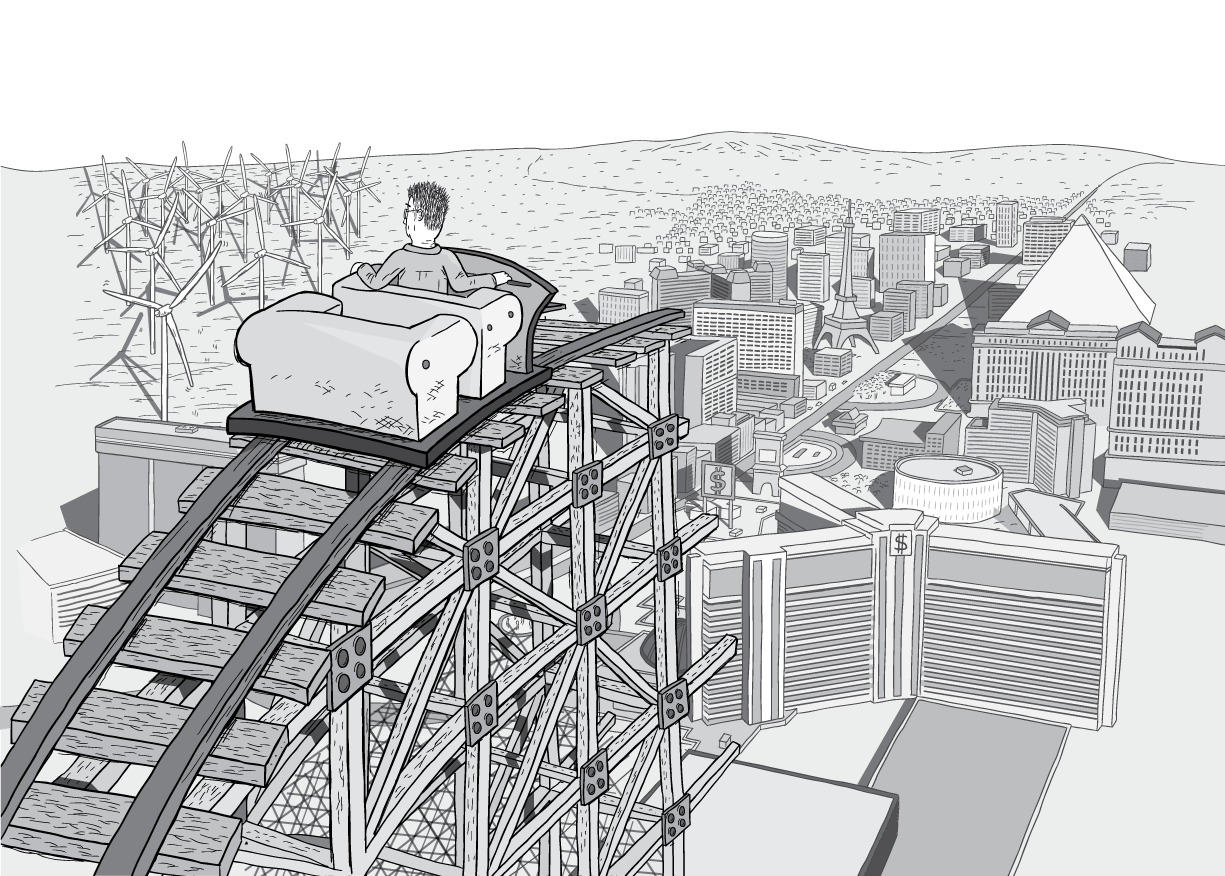
The double-page scenes generally require extra effort. For example, each of the seven double-page scenes between p20 and p33 took between 15-25 hours. The most time-consuming double-pager ended up being p112-13, at 27 hours.
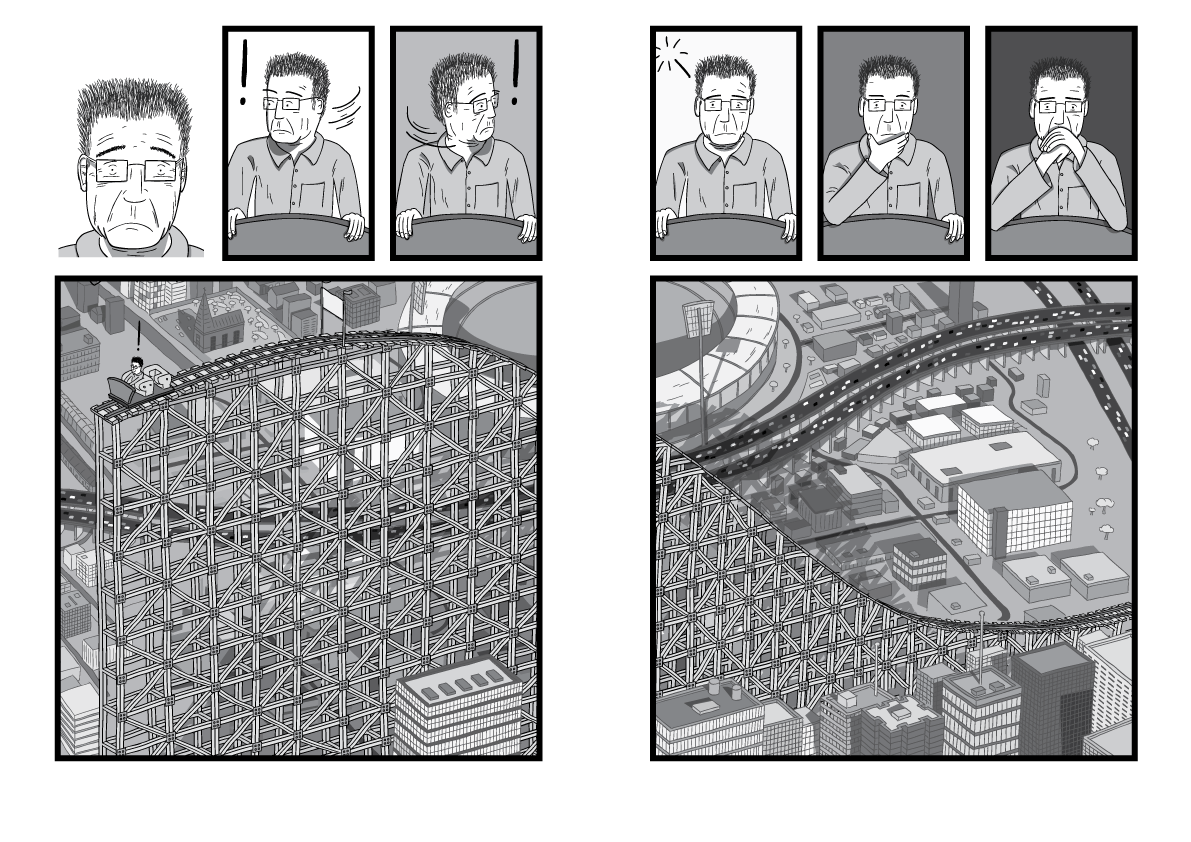
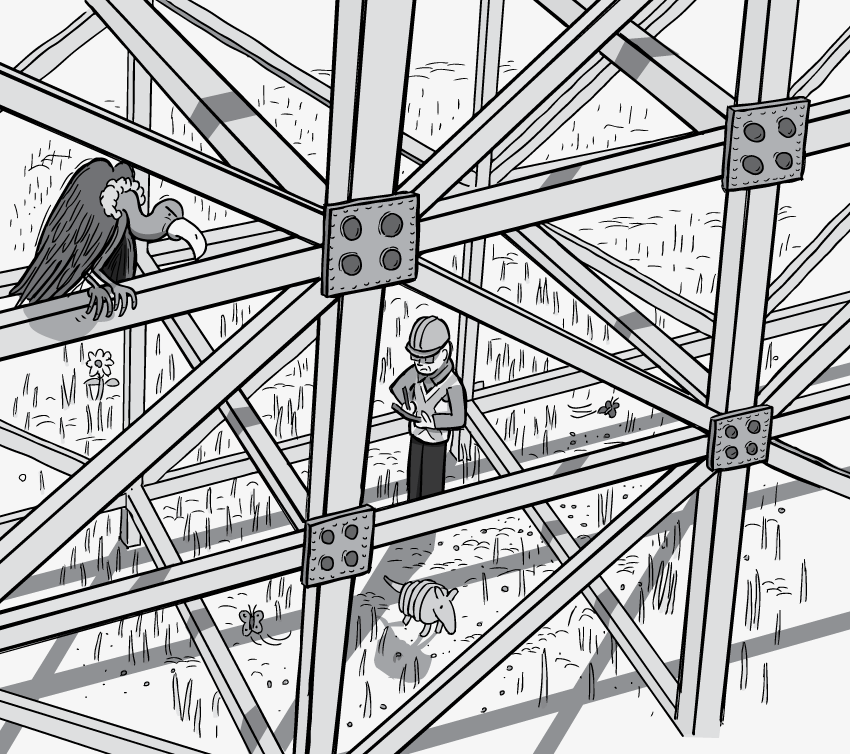
Part of the reason for this time is the fact that I always over-draw my artwork so that it extends beyond the edges of the panels, and so that it fills beneath the captions. So, in the p112-13 example, I drew the roller coaster and buildings in the white ‘gutter’ section between the two panels (i.e. the area that will be in the bound area of the printed book).
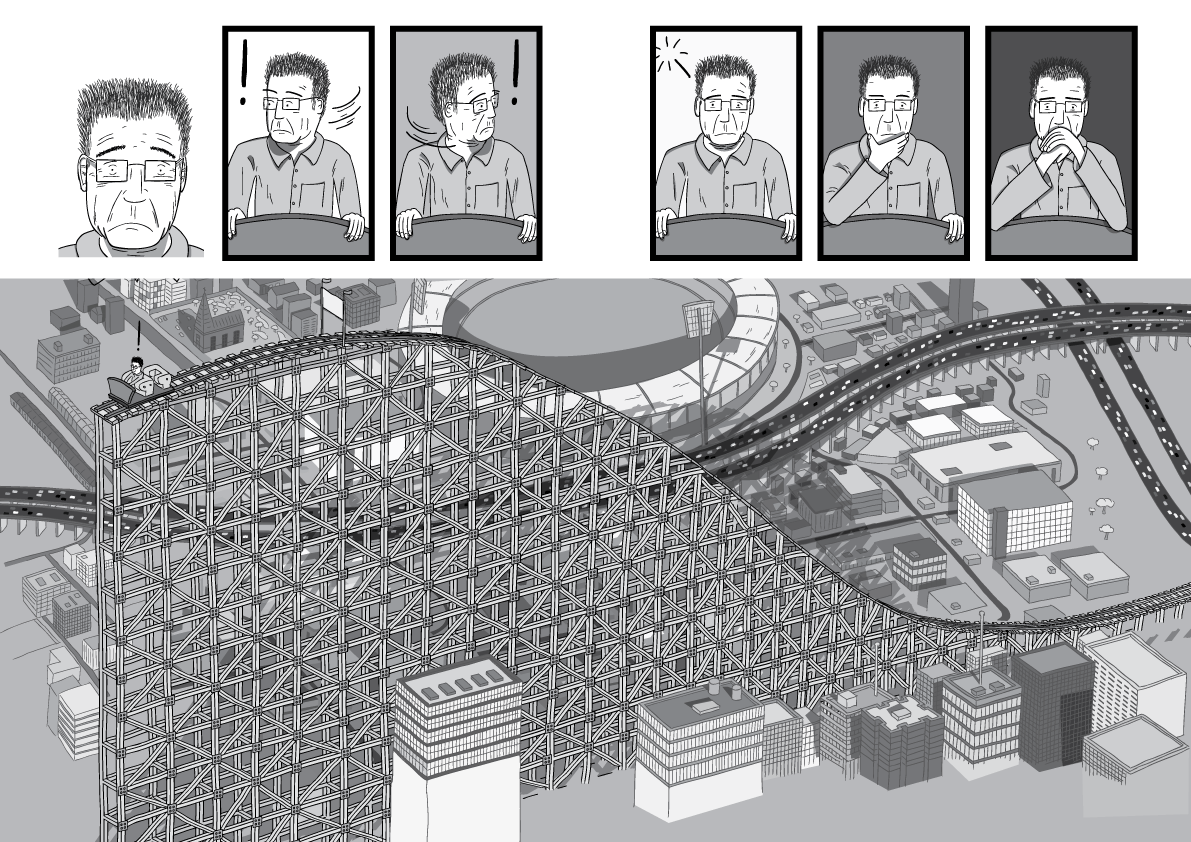
I do this because often I need to re-jig my artwork later in the production process. Also, when the comics are translated into non-English languages, I sometimes need smaller black caption boxes for concise translations. Finally, I like uploading my unobscured artwork to Pinterest and tumblr.
Step 7: Colouring
Or ‘shading’ is probably the more accurate word for my monochrome style.
Colours freak me out a bit, which is why I stick to monochrome. I have a hard enough time imagining different shades of grey, let alone considering the other colours of the visual spectrum!
Also, Craig Thompson says that “colours are for kids; black and white is for grown-ups”. So I’ll go with Craig on that one!
I’ve been using an assistant since 2012 who helps me with much of the ‘grunt work’ associated with colouring. i.e. drawing the coloured ‘fill areas’ behind the artwork. But it is always me who makes the final decisions about the final tones.
Examples of my Peak Oil artwork evolving
To see examples of my artwork evolving from rough storyboards, to finished artwork, please read my blog post The making of Peak Oil #5: evolution of the artwork. This post features interactive slideshow images, allowing you to skip backwards and forwards in time, for certain pages of Peak Oil.
A call for patrons
As the below video describes, I am currently drawing three other comics in a similar vein to Peak Oil.
Can you ‘pay it forward‘ toward your next stuartmcmillen.com comics-reading experience?
If so, please become a recurring monthly supporter via crowdfundstu.com. Thanks in advance!
Other ‘making of Peak Oil‘ articles
This is the fourth in a seven-part series covering various aspects of the comic’s creation process. Next in the series is The making of Peak Oil #5: evolution of the artwork.
Comments